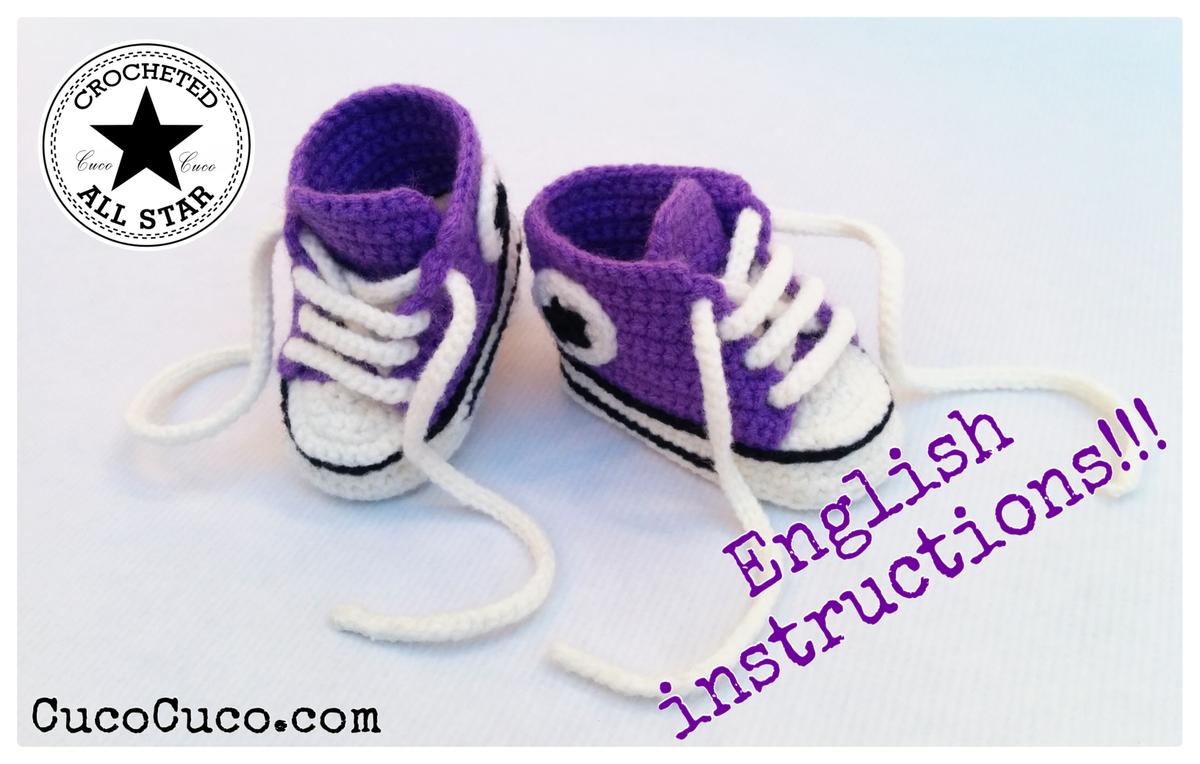
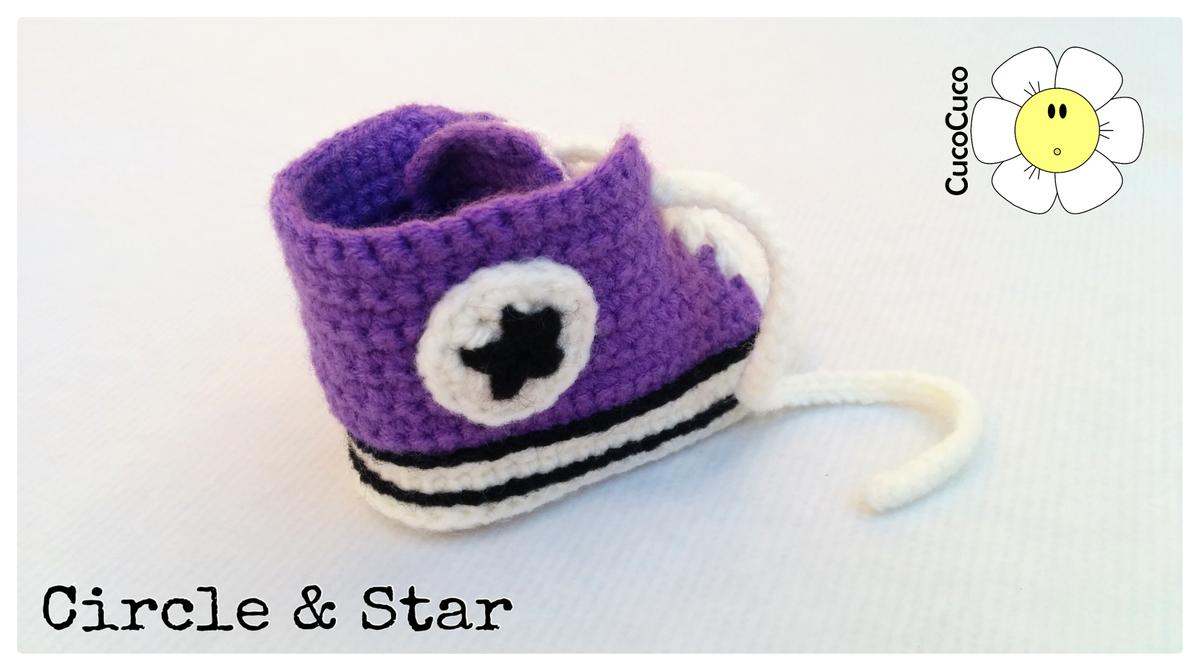
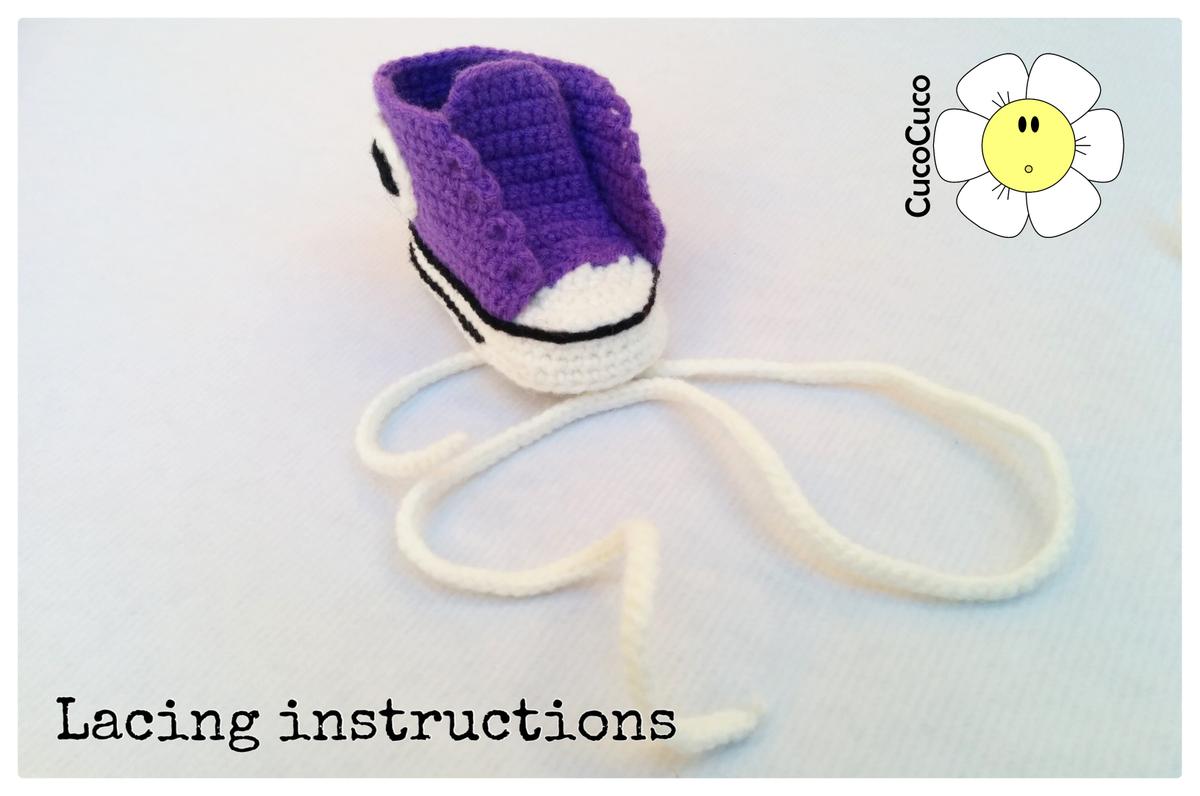
Finally available english tutorial baby booties “crocheted all star”, hope you enjoy it!!!
Materials:
– 40 g "Suavel Coats" brand yarn or similar in white color. Use with doble worsted.
– 40 g "Suavel Coats" brand yarn or similar in another color. Use with doble worsted.
– 10 g "Suavel Coats" brand yarn or similar in black color, in this case use with simple worsted.
– Embroidery needle.
– Crochet hook size : 2.00mm for size 0-months or whatever size needed to obtain sole lengths. Here I’ve written approximate foot lengths depending on age:
0-3 months: 9,5cm
3-6 months: 10,8cm
6-9 months:11,5cm
9-12 months: 12,2cm
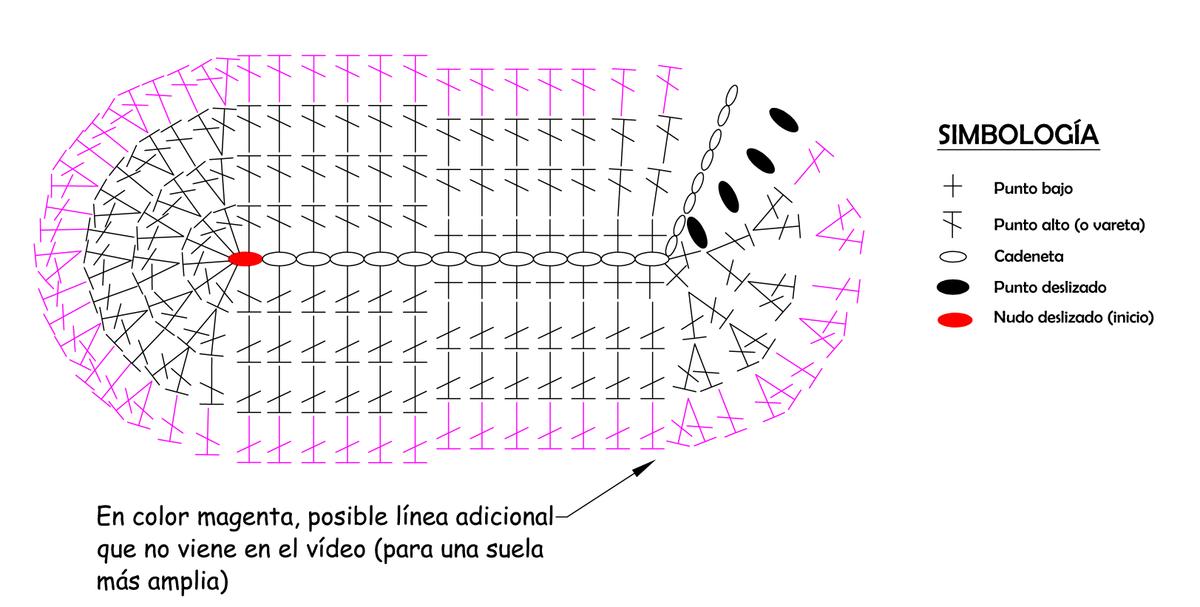
Note: To increase size of the shoes, you can either increase thickness yarn or make an additional row like I show you in red color in soles diagram crochet (this row doesnt appear on VIDEO 1).
Abbreviations used:
Ch: chain
St(s): stitch(es)
Slst: slip stitch
Sc: single crochet
Hdc: Half double crochet
Tg: together
INSTRUCTIONS
For further assistance, in the instructions you can find between parenthesis an indication of a video where you can see the development of that step. For example, when you see (V1; 0:00 – 0:45), it means that you can see that step on Video 1, from minute 0:00 to minute 0:45.
Videos are in spanish, for that reason Ive written this instructions in english but whatever the language of the videos, they can help you to understand better the development of this instructions. Videos are at the end of this post.
Note: Ch stitches in beginning of rounds do not count as first st. All rounds starts in the same stitch as the ch stitches.
– Start with slip knot (V1; 0:00 – 0:46)
– 15 Ch (V1; 0:46 – 1:11)
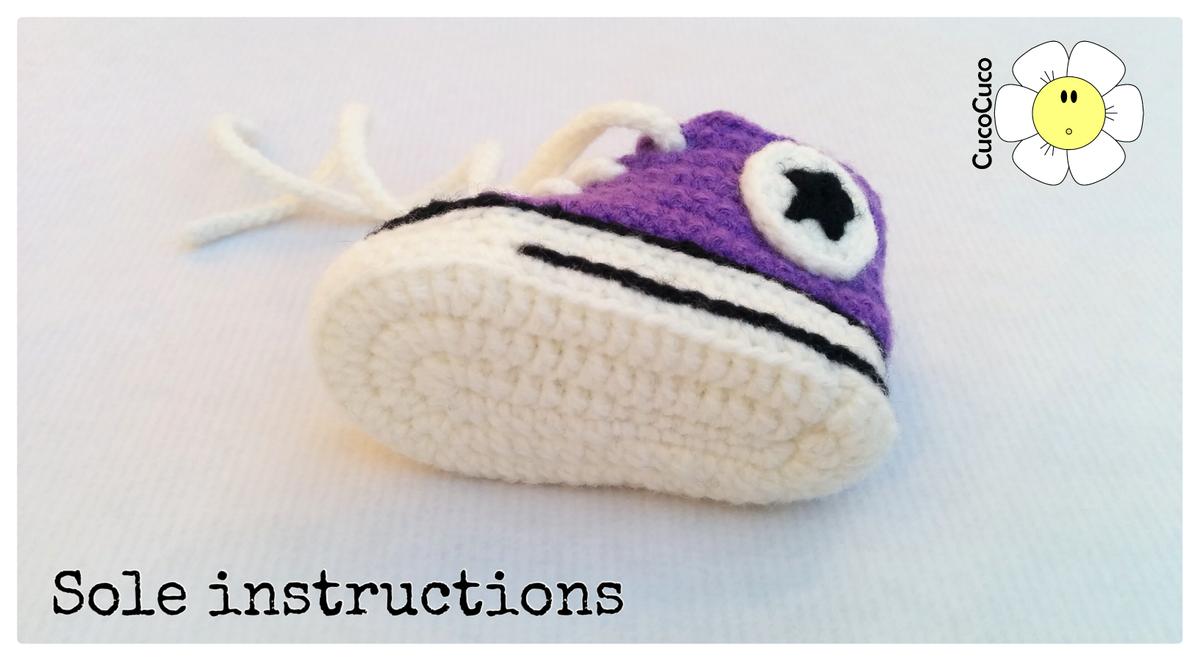
– Round 1: 1 sc in 3rd ch from hook, 6 sc, 5 hdc, 8 hdc in last ch, 5 hdc working down the other side of the foundation ch, 6 sc, 3 sc in the lass st, join with slst. (V1; 1:11 – 4:18) (34 total sts in round 1)
– Round 2: 2 ch, 13 hdc, 2 hdc in each of the next 6 sts, 13 hdc, 2 hdc in each of the next 2 sts, join with slst. (V1; 4:18 – 7:52) (42 total sts in round 2)
– Round 3: 2 ch, 13 hdc, (2 hdc in the next st, 1 sc in the next st) x 6 (it means repeat 6 times instruction between parenthesis), 13 hdc, (2 hdc in the next st) x 4, join with slst. (V1; 7:52 – 11:47) (52 total sts in row 3). When you arrive at this point, you can make an additional row to increase size of the sole (in red color in the soles scheme crochet. This row doesnt appear on VIDEO 1), but also you have to make an additional row in the toe shoes.
.
SOLE’S DIAGRAM CROCHET (FROM ROUND 1 TO 3)
– Round 4: 1 ch, 52 sc taking half st, join with slst. (V1; 11:47 – 13:09) (52 total sts in round 4)
– Round 5: 1 ch, 52 sc, join with slst. (V1; 13:09 – 14:12) (52 total sts in round 5).
– Round 6: Idem than round 5.
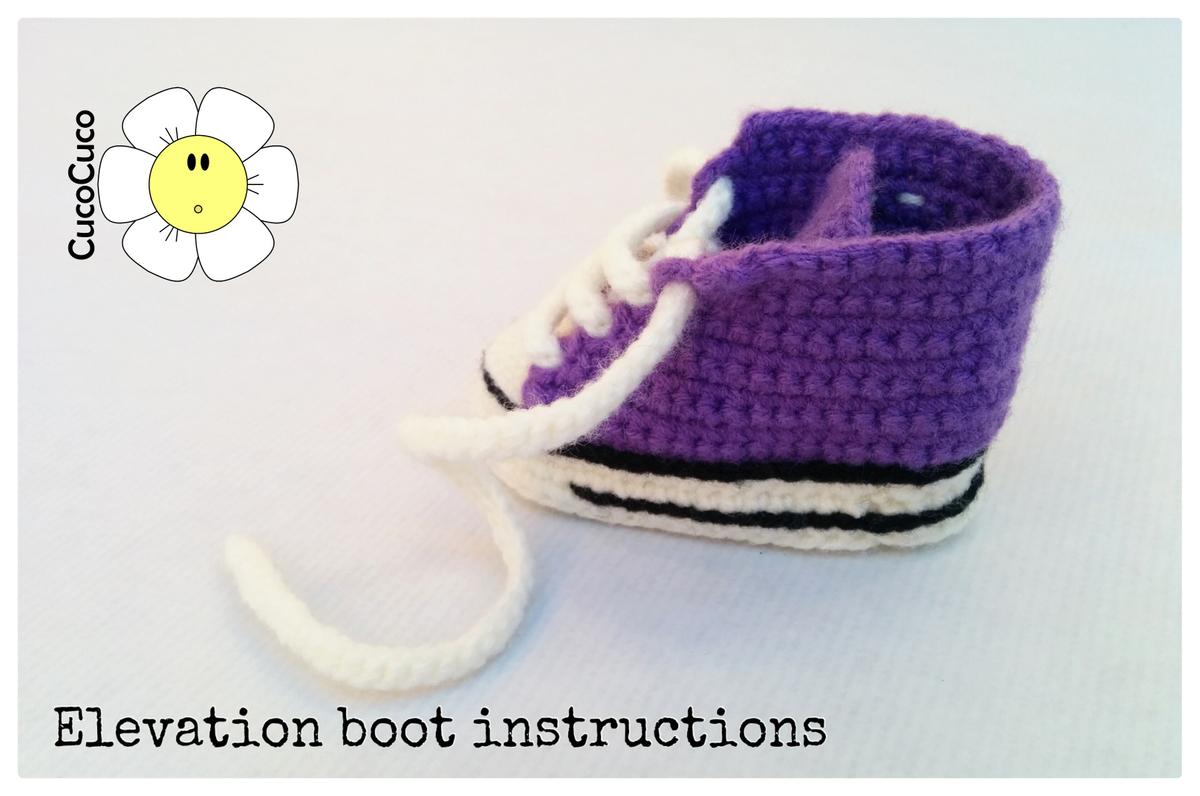
– Row 1: Find the center front stitch on the sole. Count over 7 sts on each side (9 or 10 sts if you have done an additional row on sole. 9 sts in case of 1 additional row con toe cap and 10 sts for 2 additional row on toe cap. It depends if you prefer a larger o smaller toe cup), but no counting center st, then mark those sts. Make 1ch next to mark, 36 sc taking half st (or make sc taking half st until arrive to next mark). (V2; 1:10 – 3:13) (36 total sts in row 1).
– Row 2: 1 ch, turn, 1 sc in 3rd ch from hook, 35 sc. (V2; 3:13 – 4:01) (36 total sts in row 2).
– Row 3: 3 ch, turn, 1 sc in 6th ch from hook (it is for a eyelet), 32 sc, turn, 3 ch and join with slst in last st (it is for the opposite eyelet). (V2; 4:01 – 6:45) (33 total sts in row 3)
– Row 4: 3 slst over 3 ch from previous row, 33 sc. (V2; 6:45 – 8:50) (33 total sts in row4)
– Row 5: 3 ch, turn, 1 sc in 6th ch from hook, 28 sc, turn, 3 ch and join with slst in last st. (V2; 8:50 – 10:25) (29 total std in row 5).
– Row 6: 3 slst over 3 ch from previous row, 29 sc. (V2; 10:25 – 11:36) (29 total sts in row).
– Row 7: 3 ch, turn 1sc in 6th ch from hook, 24 sc, turn, 3 ch and join with slat in last st. (V2; 11:36-13:38) (25 total sts in row).
– Row 8: 3 slst over 3 ch from previous row, 25 sc. (V2; 13:38 – V3; 0:38) (25 total sts in row 8).
– Row 9: 3 ch, turn, 1sc in 6th ch from hook, 20 sc, turn, 3 ch and join with slst in las st. (V3; 0:38 – 2:38) (21 total sts in row 9).
– Row 10: 3 slst over 3 ch from previous row, 21 sc. (V3; 2:38 – 4:05) (21 total sts in row 10).
– Row 11(This row doesnt appear on video 3, but is better make it for elevation of the boot): 1ch, 1 sc in 3rd ch from hook, 20 sc.
Toe cup
– Row 1: Start with magic circle (or magic ring), 1 ch, 4 sc through magic circle. Tighten the magic circle. (V3; 4:05 – 5:09) (4 total sts in row 1).
– Row 2: 1 ch, turn, 1 sc in 2nd ch from hook, (2 sc in next st) x 3. (V3; 5:09 – 6:30) (7 total sts in row 2)
– Row 3: 1ch, turn, 1 sc in 2nd ch from hook, (1 sc, 2 sc in next st) x 3. (V3; 6:30 – 7:48) (10 total sts in row 3).
– Row 4: 1 ch, turn, 1 sc in 2nd ch from hook, (1 sc, 1 sc, 2 sc in next st) x 3. (V3; 7:48 – 9:21) (13 total sts in row 4).
– Row 5: 1 ch, turn, 1 sc in 2nd ch from hook, (1 sc, 1sc, 1sc, 2 sc in next st) x 3. (V3; 9:21 – 11:42) (16 total sts in row 5). Fasten off leaving a 25cm tail. You will use this tail later on to attach the front section to the sole.
– If you have made an additional row on sole, in toe cap you need make 1 or 2 additional rows also, following the same steps as before but with different frequency stitches. For 1 additional row, frequency stitches is (1 sc, 1 sc, 1sc, 1sc, 2 sc in next st) x3, (19 total sts in row 6). If you want make an additional row more, frequency stitches for this one is (1 sc, 1 sc, 1 sc, 1 sc, 2 sc in next st) x3, (22 total sts in row 7).
Tongue
– Row 1: 2 ch, 10 sc (1 or 2 more in case make additional row on sole) evenly spaced on the straight side of the toe cap. (V3; 11:42 – 14:14)
– Row 2: 1 ch, turn, 1 sc in 3rd ch froom hook, 9 sc. (V3; 14:14 – 14:48) (10 total sts in row 2)
– Repeat steps of row 2 until make 14 rows more. (V3; 14:48 – 18:00) (10 total sts in all rows)
– Seaming together toe cap with sole. (V4; 0:00 – 02:05)
Black lines on sole (with black yarn)
– This lines are made with chain stitch. (V4; 02:05 – 05:45)
Circle
– Row 1: Start with magic circle, 2 ch, 9 hdc through magic circle, tighten the magic circle, join with slst. (V4; 05:45 – 07:30) (9 total sts in row 1).
– Row 2: 1 ch, (2 hcd in next st) x9, join with slst. Fasten off leaving a 25cm tail. You will use this tail later to attach the circle to the elevation of the boot.
(V4; 07:30 – 08:56) (18 total sts in row 2).
Star
To make star is better you see all steps in video (V4; 08:56 – 13:02).
– 200 ch (aprox)
– Turn, slst at the end. (V4; 13:02 – 15:00)
I hope you like it, and please… SHARE IT!!
