Vuelvo por aquí, ¡por fin! ¿Cómo lleváis el comienzo de la primavera? Yo encantada, con este solecito da gusto salir a la calle.
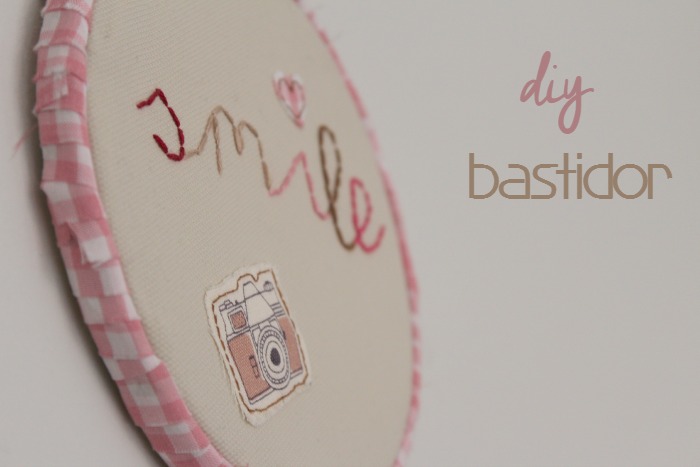
Hoy os traigo un DIY de un bastidor que hice hace unos meses, y aún no os había enseñado. Un poquito antes de Navidad descubrí en Pinterest unos bastidores de decoración que me encantaron. En mi cuenta podréis ver el tablero que tengo repleto de bastidores.
Y decidí que yo también quería el mío. Así que me puse manos a la obra. Si queréis el vuestro, aquí tenéis el tutorial.
MATERIALES
- Un bastidor
- Dos retales de tela (uno que sea cómo mínimo del tamaño del bastidor)
- Hilos de bordar
- Aguja, dedal, jaboncillo de sastre y tijeras
- Pegamento textil
DIY
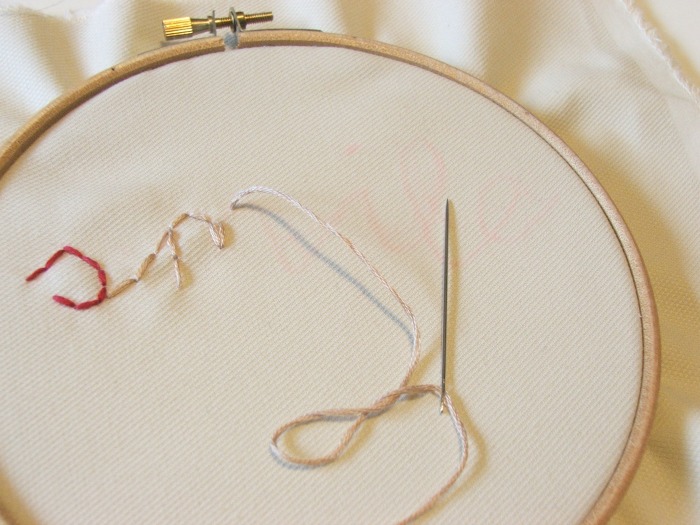
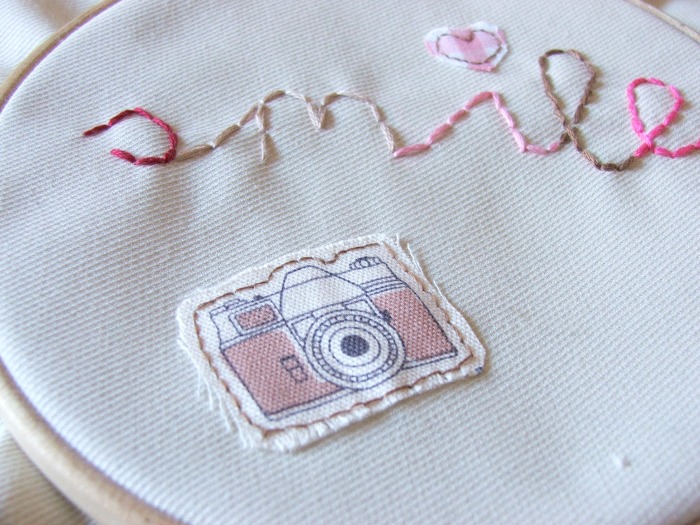
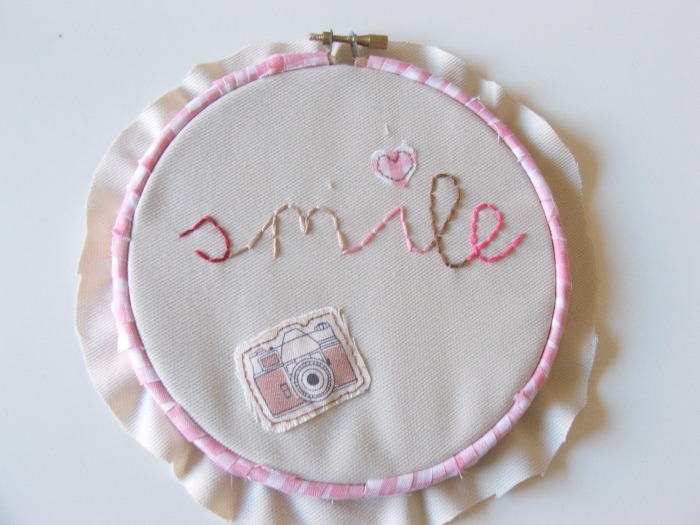
Primero dibujamos con el jaboncillo la palabra que queremos bordar. Colocamos la tela donde vamos a hacer el bordado en el bastidor y comenzamos a coser sobre la palabra que hemos escrito. Yo he dado puntadas grandes y con varios hilos para que quedase más grueso y se viera mejor la palabra.Y además cada letra de la palabra smile la he hecho con un color diferente.
Además he querido adornarlo un poco, y el punto de la i lo he hecho con un trocito de la otra tela en forma de corazón y he puesto una cámara de fotos de otro retal de tela que me sobró de este clutch que hice hace tiempo. Ambos adornos los he cosido a la tela.
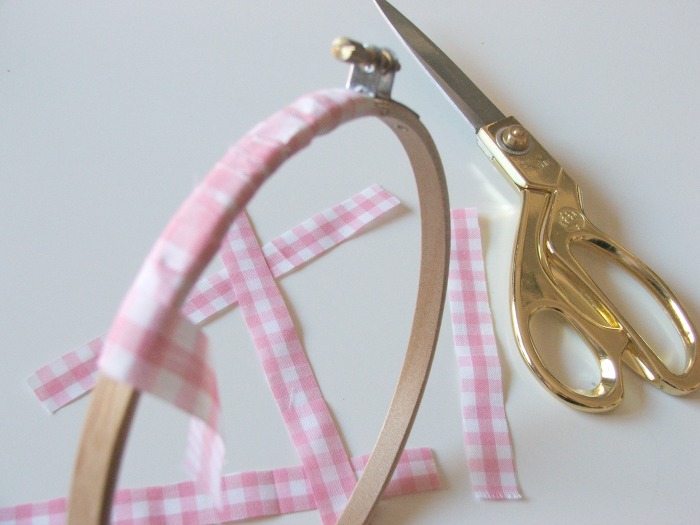
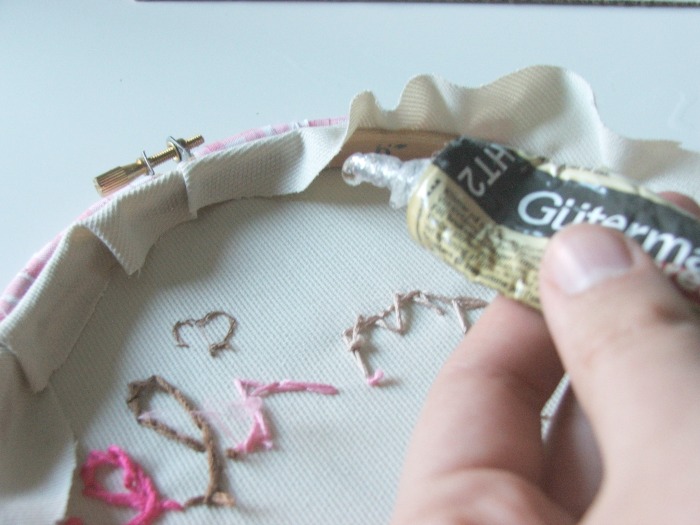
Lo siguiente que he hecho es cortar varias tiras de la otra tela. Y las he pegado enrolladas al bastidor con el pegamento textil.
Después recortamos la tela dejando tres centímetros de sobrante y lo pegamos por detrás del bastidor.
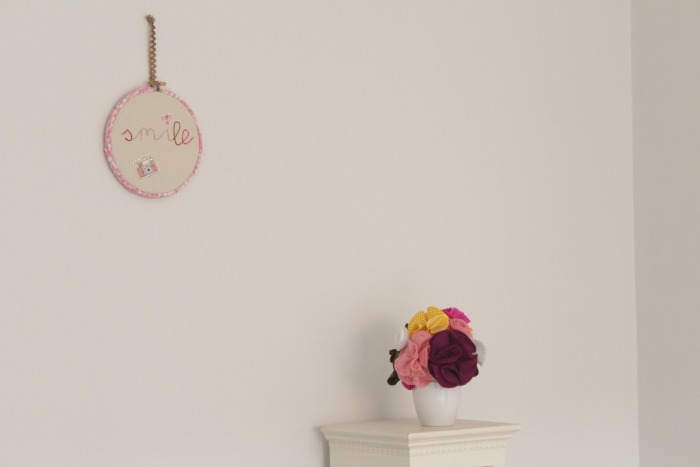
Y por último le he puesto una cinta para poderlo colgar. ¡Listo! ¿Qué os parece? ¿Os gusta la idea de decorar la casa con bastidores?
PD: El tutorial del florero de la última foto lo tenéis en la colaboración que hice en el blog de Creative Mindly.
Un beso.
Marta.
Hi everyone!
Im back again! Hows the spring going? Im trying to make the most of it. I love the sun and this nice weather, so I try to go out as often as I can.
Heres a new DIY. Its an embroided hoop that I made a few months ago to decorate our room. I love using hoops for decorating, you can find my favourite ones on my Pinterest profile.
So I decided to make this one. If you also want to have one, you just have to follow this tutorial.
MATERIALS
- A hoop
- Two pieces of fabric (one has to be at least the size of the hoop)
- Embroidery threads
- Needle, scissors and tailors chalk
- Fabric glue
DIY
First, draw the word that you want to embroider with the chalk. Now put the fabric in the hoop and sew the word that you wrote. Ive done it with a thick thread and with big stitches, so that its easier to read. And Ive used a different colour for every thread.
Then I decided to decorate the hoop a bit more, so instead of just sewing the dot of the letter i, Ive done it with a bit of fabric. And I also sewed a photo camera from fabric that I had from this clutch that I made some time ago.
After that I cut a few strips of the other fabric and I stuck them around the hoop.
Then cut the excess of fabric around the hoop leaving a 3cm margin that you will stick behind the hoop.
And lastly put some ribbon at the top of the hoop to be able to hang it. Done! What do you think of it? Do you also like decorating with hoops?
Xx.
Marta.


