Para esta colaboración con Kora Projects he preparado un mini álbum Pop Up que además, puedes usar como decoración en cualquier rincón de tu casa.
Hi !!!
For this collaboration with Kora Projects I have prepared a Pop Up mini album wich in adittion, you can use it like decoration in any corner of your house.
Para realizarlo he usado estos materiales:
2 Cartones contracolados 21,5 x 7,5 cm
1 Cartulina base en gris 28 x 21 cm
2 Cartulinas base en gris 26 x 12 cm
12 Cartulinas blancas 6,8 x 6,8 cm
2 Cartulinas blancas 21,3 x 21,3 cm
12 Papeles decorados 6,5 x 6,5 cm "Heaven door" y "Baby boom" de Kora Projects
2 Papeles decorados 21 x 21 cm "Candy bar" de Kora Projects
6 Fotografías de 6,8 x 6,8 cm con marco blanco
50 cm Cinta blanca
Decoraciones de la colección "From the sky baby girl" de Kora Projects
Chipboard de la colección "Girl from the sky" de Kora Projects
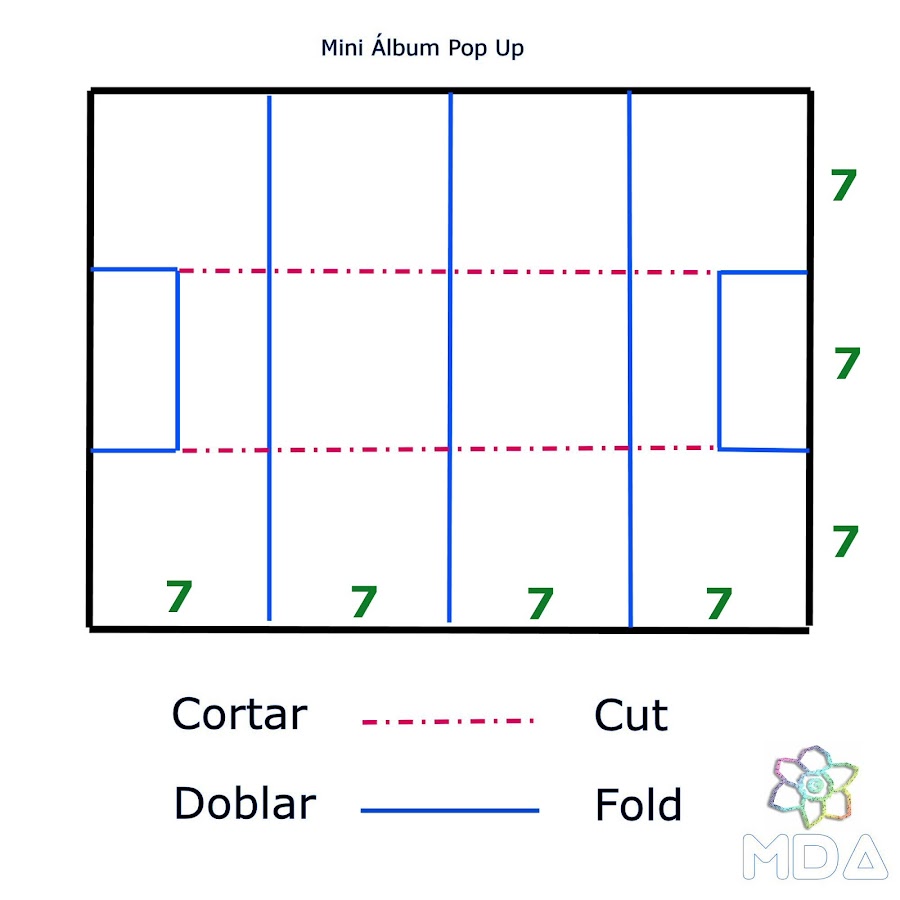
Lo más complicado son los dobleces y cortes que lleva la cartulina base del proyecto, por eso te dejo esta plantilla que te va a facilitar el trabajo. Las medidas están en centímetros.
To make it, I have used these materials
2 cardboards 21,5 x 7,5 cm
1 gray card 28 x 21 cm
2 gray cards 26 x 12 cm
12 white cards 6.8 x 6.8 cm
2 white cards 21.3 x 21.3 cm
12 Decorated papers 6.5 x 6.5 cm "Heaven door" and "Baby boom" by Kora Projects
2 Decorated papers 21 x 21 cm "Candy bar" by Kora Projects
6 photos with white frame 6.8 x 6.8 cm
50 cm white ribbon
Decorations from the collection "From the sky baby girl" by Kora Projects
Chipboard from the collection "Girl from the sky" by Kora Projects
I add this template to make the work of folding and cutting the base card of the project easier for you, since its the most complicated part of it.
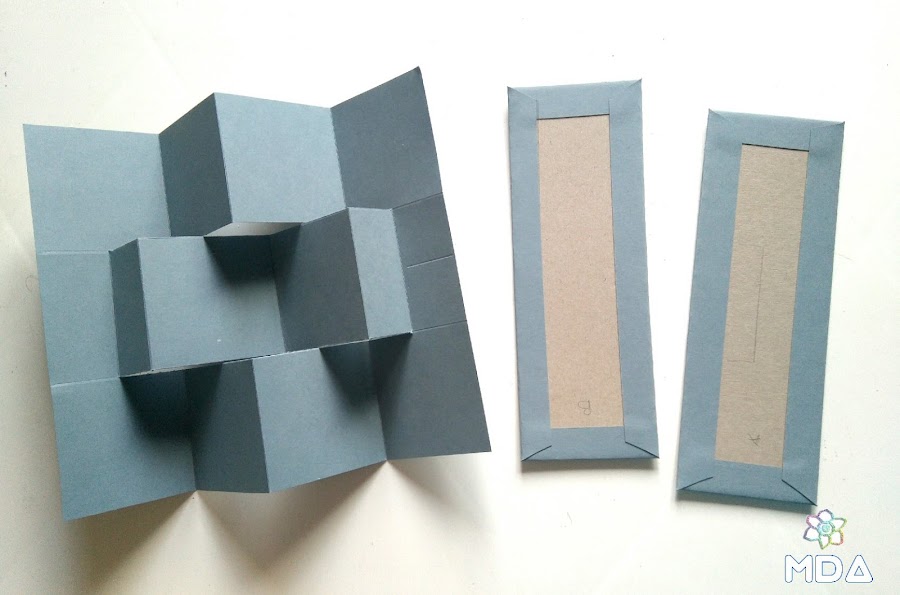
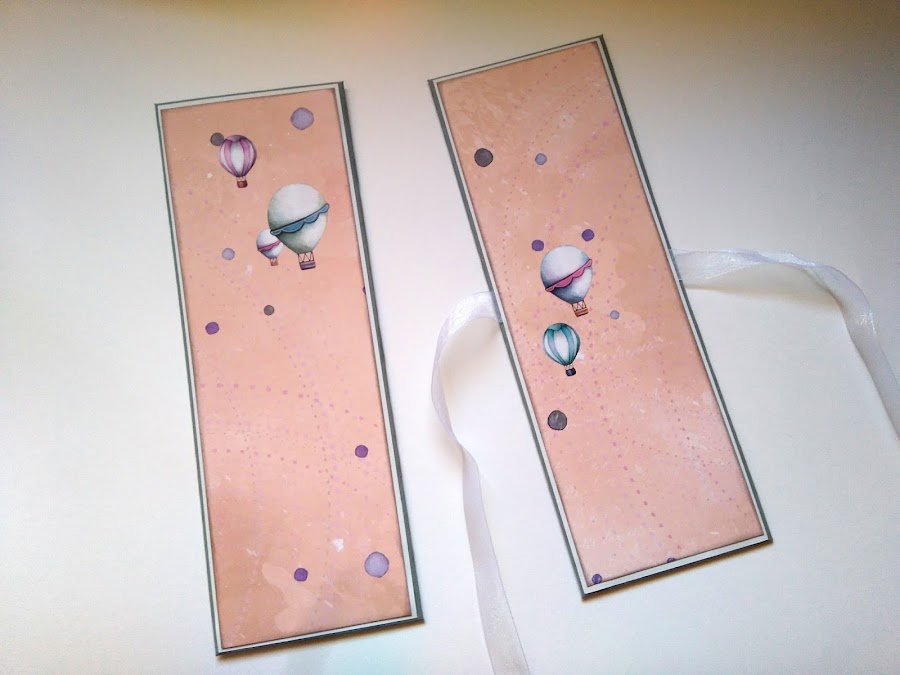
Además de doblar y pegar la base del álbum deberás forrar las dos piezas de cartón con la cartulina de
26 x 12 cm, serán las tapas del mini.
Besides folding and gluing the albums base, you have to cover the two pieces of cardboard with the 26 x 12 cm card. These will be the album covers.
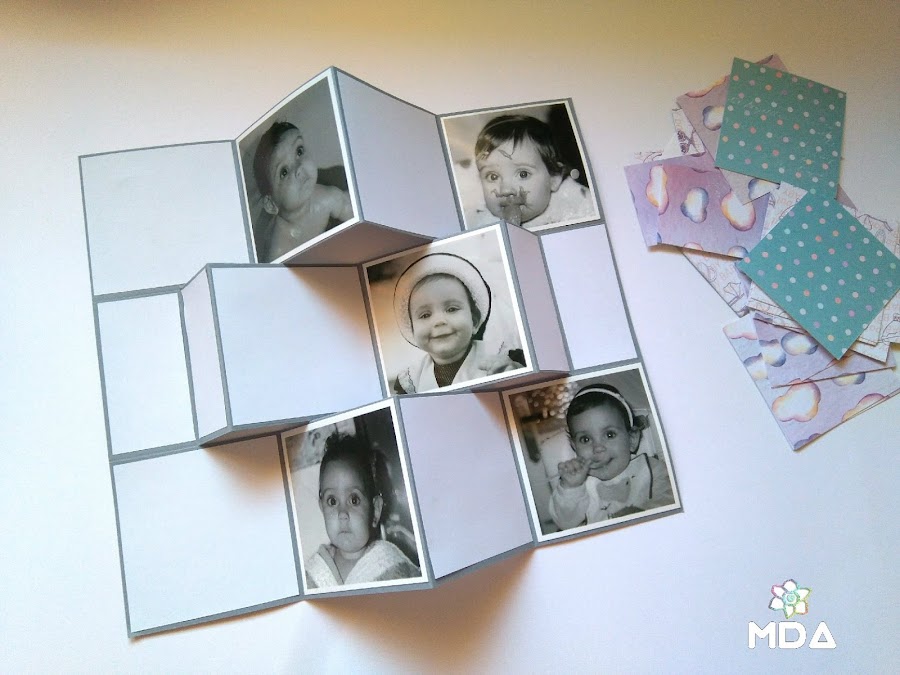
Ahora vamos a distribuir las fotografías y en las partes para decorar vamos a pegar las cartulinas blancas.
Now we are going to distribute the photos and gluing the white cards on the parts to decorate.
El siguiente paso será pegar la estructura a las tapas que ya tenemos con el papel decorado. No te olvides de poner la cinta en la portada de atrás antes de pegar el papel.
The next step will be to attach the structure to the covers that we already have with the decorated paper. Do not forget to put the ribbon on the back cover before you stick the paper.
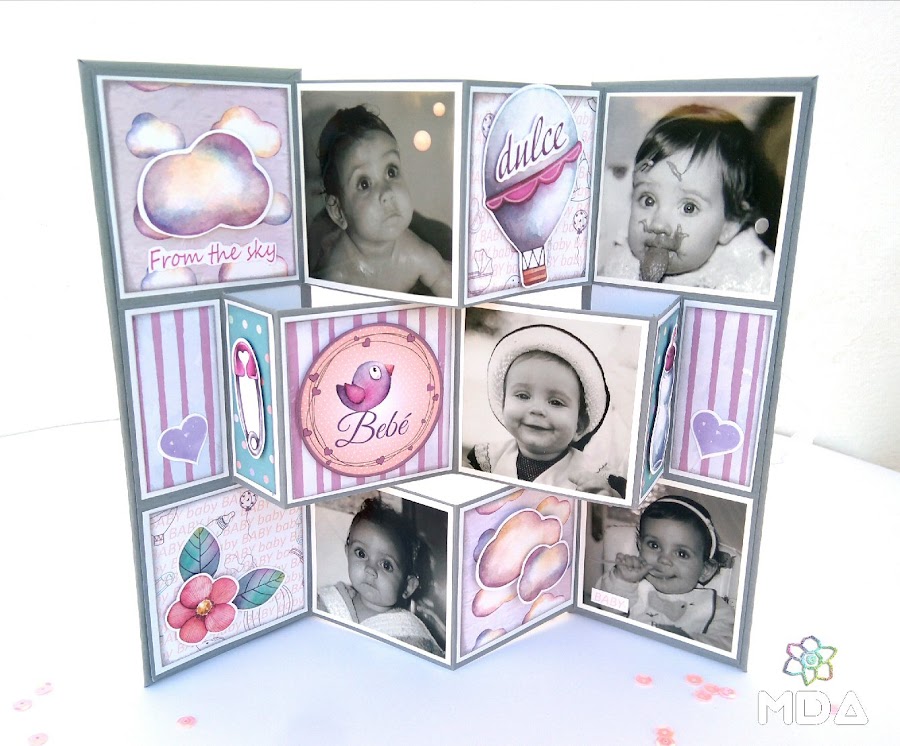
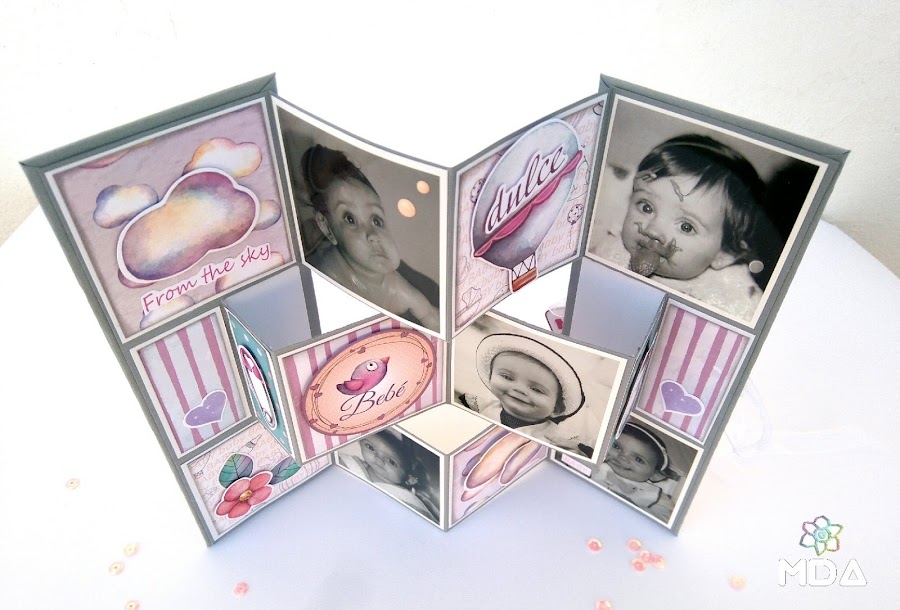
Cuando tengas todo preparado ya sólo queda decorar, mira las fotografías y verás como lo he hecho yo.
Por delante.
When you have everything ready, it only remains to decorate, look at the pictures and see how I have done it.
In front.
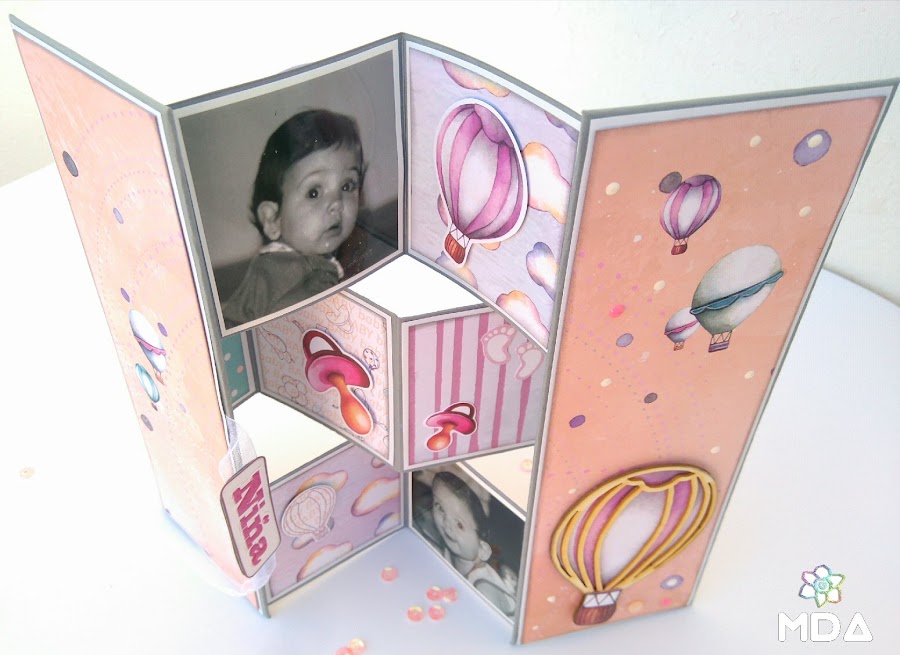
Por detrás
Behind.
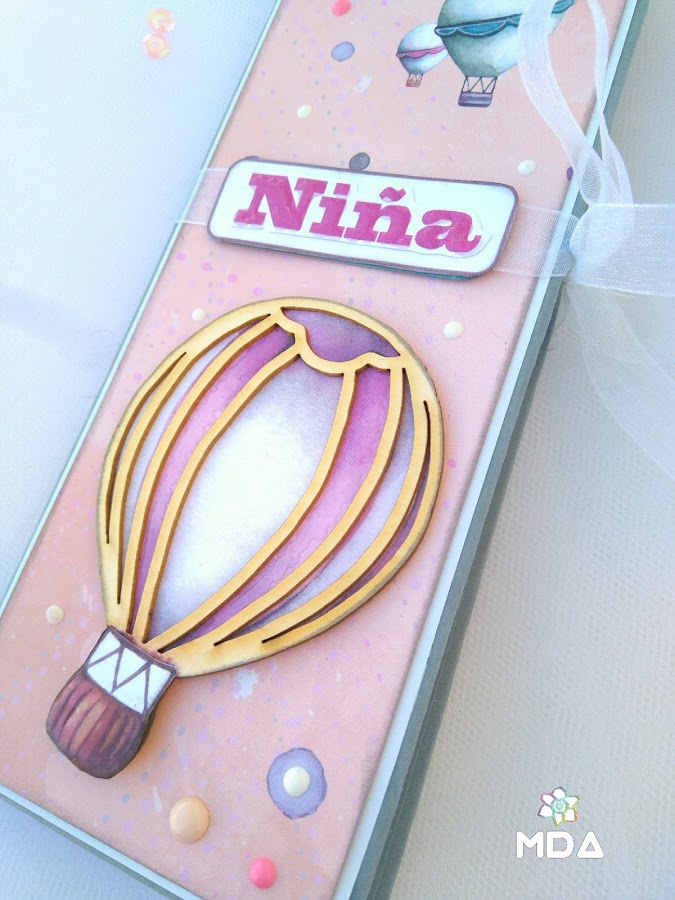
Las tapas, que cierran con una lazada en el lateral, tiene una decoración de globos en la portada y el título en un pequeño cartel unido a la cinta.
The covers, which close with a bow on the side, have a balloon decoration in front and the title on a small poster attached to the ribbon.
¿Te animas a hacerlo tu también? ¿sí? ya me contarás.
¡Hasta pronto!
Besicos
Do you dare to do it too? yes? I expect you will tell me about it.
See you soon!
XOXO
.


