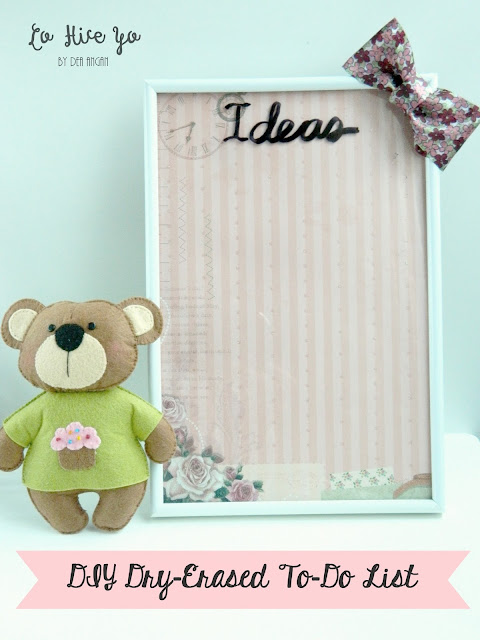
I often find myself as a person who wont be able to sleep until she makes sure she writes down everything she has to do. In my case, having insomnia is not something new (take last nights super-short sleep, for instance). Additionally, when I am crafting or getting inspirations from Pinterest, I start getting bombarded by loads of craft ideas I want to make. These ideas need to be written down, somewhere in a proper place where I can easily see them (and Im not talking about post-its).
Therefore, in order to fulfill my sort-of OCD syndrome, I made this dry-erased to-do list. I can use this dry-erased board to write down anything that comes out in my head. Plus, this dry-erased board is super easy to make. All you need is a photo frame and a piece of scrapbook paper or a card stock.
TOOLS AND MATERIALS
a photo frame
scrapbook paper or card stock
ribbon
hot glue
scissors
pencil or pen
TUTORIALS
First, measure the scrapbook paper you need to fit in the photo frame. You can use the crystal of the frame to do so. Trace using a pen or pencil.
Cut out the measured paper using scissors (a cutter will do, too).
Now, simply place the paper inside the frame. At this point, you have made the dry-erased board already.
To make the bow, you will need one 25-cm ribbon and one 7-cm ribbon.
Take the 25-cm ribbon. Put both ends to the center and glue them together.
Repeat the same step with the smaller ribbon (take the longer ends instead of the shorter ones).
Pinch the bigger ribbon as shown in the picture.
Use the smaller ribbon to wrap around the bigger one.Secure with hot glue. Youve made a bow!
Glue your bow on your photo frame.
Now, you can simply use a board marker to write on your board. Once you have your board full, wipe it clean with some tissue.
I hope you find this DIY useful. Let me know if you have made yours.
Have a great day!


