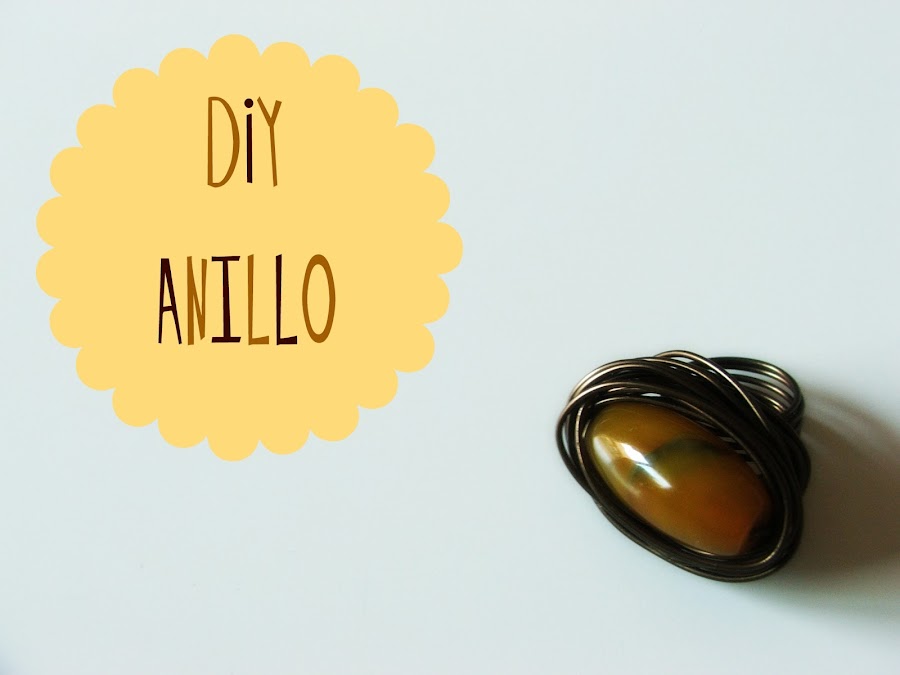
Hoy os traigo un tutorial super facilito para el finde! ¿Os animáis a ponerlo en práctica?
Alguna que otra vez os he enseñado anillos hechos con hilo mágico que he diseñado yo y que podéis comprar si queréis mandándome un email a .... Los anillos que ya os he enseñado los tenéis AQUÍ, AQUÏ y AQUÍ.
Ya he tenido alguna petición para que haga un tutorial de anillos así que hoy os voy a enseñar a hacerlos, para que podáis hacer vuestros propios diseños echándole imaginación y creatividad. Son muy sencillos, ya veréis.
Vamos con el DIY!
Materiales:
- Un abalorio con agujeros.
- "Hilo mágico" o hilo de aluminio. Este hilo lo venden de diferentes grosores así que tenéis que comprar acorde al grosor del agujero del abalorio. Yo para este anillo he usado unos tres metros, pero porque es muy finitio, para otros anillos con hilo mágico más grueso suelo usar un metro.
- Alicates de cortar y alicates de punta redonda.
- Algo tubular del tamaño de vuestro dedo que tengáis por casa para darle la forma al anillo. Un rotulador, unos cubiertos, un pintalabios....
El paso a paso:
Primero tenéis que pasar el hilo mágico por el abalorio y centrarlo.
Después lo colocáis en el tubo que tengáis y damos varias vueltas a los dos extremos que están a los dos lados del abalorio, para que así nos quede simétrico. Dependiendo del grosor tendréis que darle más o menos vueltas, eso va al gusto de cada una. Probároslo antes de seguir con el siguiente paso para aseguraros de que os está bien.
Y cuando hayáis acabado esto tenemos que dar vueltas alrededor del abalorio. Cuando veáis que os gusta lo que tenéis que hacer es cortar el sobrante de hilo mágico con los alicates de corte y esconder las puntas por debajo de la piedra con los alicantes de punta redonda.
Y ya está! ¿Sencillo, verdad? Aquí tenéis una foto más para que veáis que chulo queda puesto. ¡Estoy deseando ver fotos de los vuestros!
Un besito.
Marta.
Hi there!!
I"ve got a really easy tutorial for you for the weekend! Are you up for trying it??
I"ve already shown you some of the rings made with wire that I make and I also sell. You can see them HERE, HERE and HERE. And if you want to buy any of them you just have to send me an email to sewcreativa@gmail.com
A friend asked me to write a tutorial to show you how to make them yourselves. So you can make them now following this easy DIY and by using your imagination and creativity.
Materials (picture above):
- One hole bead.
- Wire. The width of the wire depends on the width of the hole of the bead that you are going to use. And the length depends on the width. For this ring, as the wire is very thin, I used 3 metres, but when I use a wider wire I use about 1 metre.
- Cutting and round-nose pliers.
- Something tubular of the size of your finger. It could be a marker, or some sort of rounded cutlery, or a lipstick...
Step by step:
First of all you have to put the wire through the bead and leave it in the centre.
After that you have to put the bead with the wire on top of the tube and turn both sides of the wire around the tube until you like it. Try the ring on to make sure that it fits.
The next step is wrapping the bead with the wire. When you see that it looks good, you have to cut the excess wire with the cutting pliers and then we have to hide the ends with the round-nose plier under the bead.
And that"s it!! Easy, right? Can"t wait to see the pictures of your ones!
Xx.
Marta.


