Today I wanna show you a super simple mini album tutorial with surprise inside.
If you like pop-up constructions you will know this.
The idea is that when you open the mini album a cube comes out as if that had a spring.
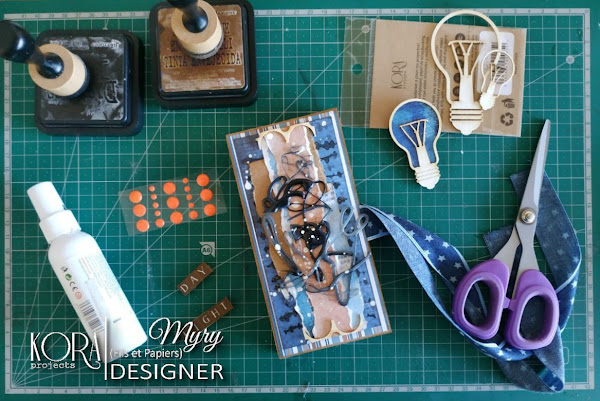
Supplies:
-"Cozy Winter" Kora projects paper collection
-Kraft Cardstock (300gr)
-"Magic Day" Kora projects stamps
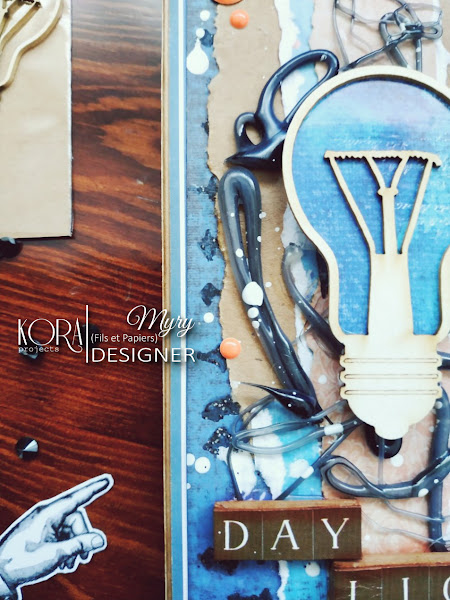
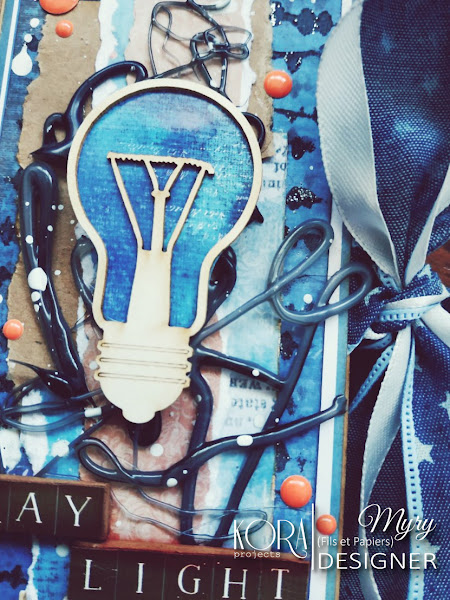
-"Light bulb" Kora projects chipboard
-id-60 AB studio stencil
- "Versafine onyx black", "Black soot Distress" and "Vintage Distress" ink
-Rubber band
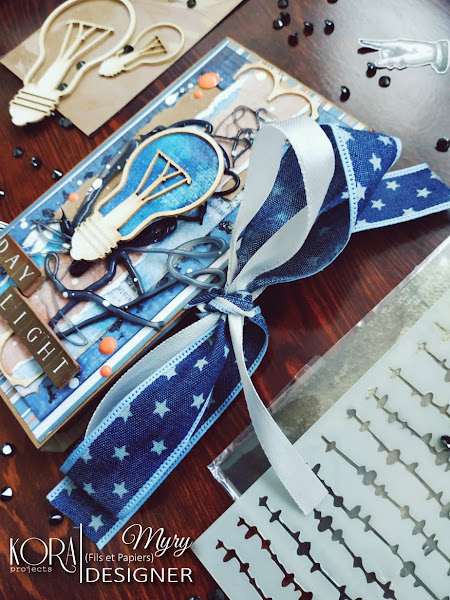
-Embellishments: ribbons, some enamels, alphabet, acrylic paint,
glitter, black and white silicone
-Tools for cutting, folding and gluing and, optionally, sticker kraft tape and sewing machine.
Lets start!
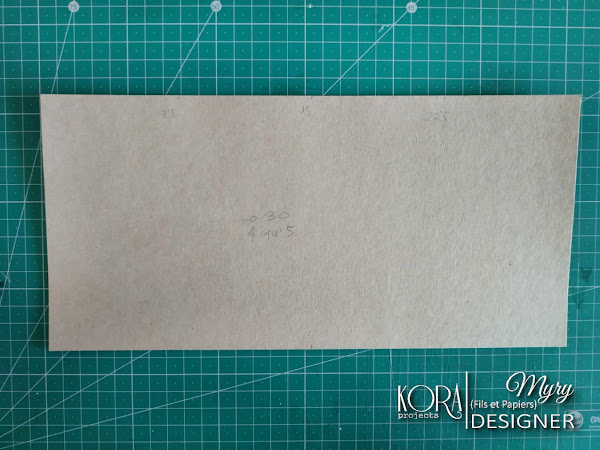
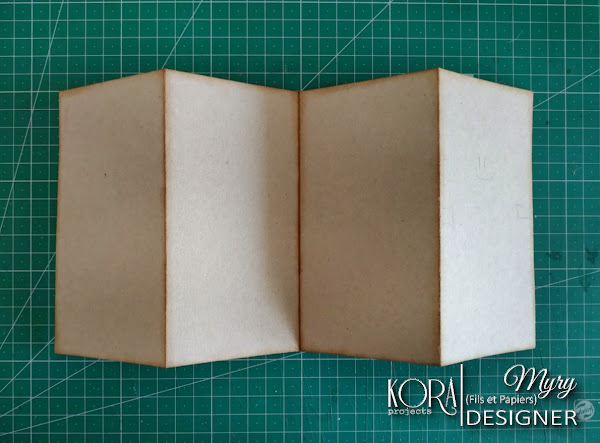
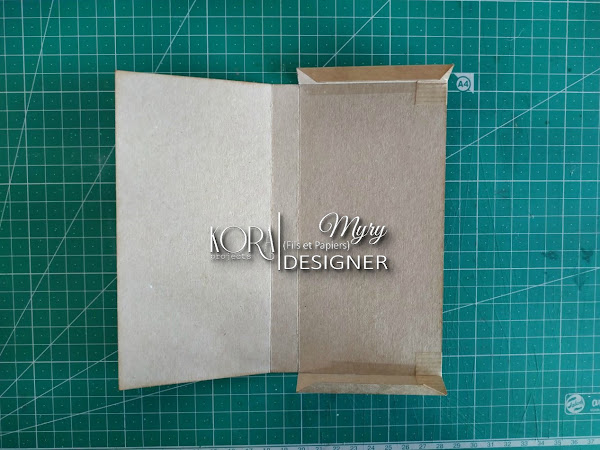
Were going to make a accordionmini album with a strip of 145x30cm (5 11/16"x11 13/16") cardboard
and score at 7.5cm, 15cm and 22.5cm (2 15/16", 5 15/16" and 8 7/8").
Mark the center in the that will be the first page.
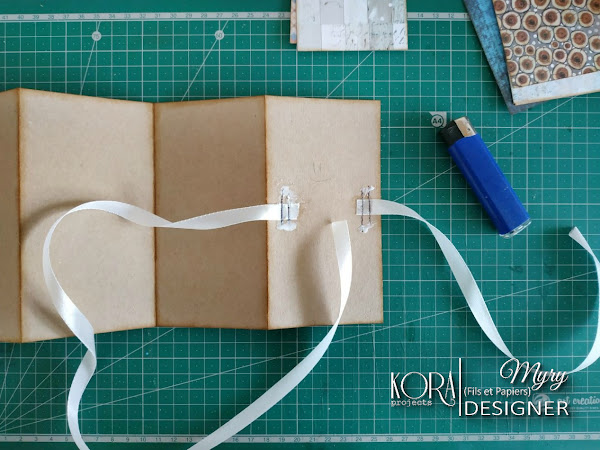
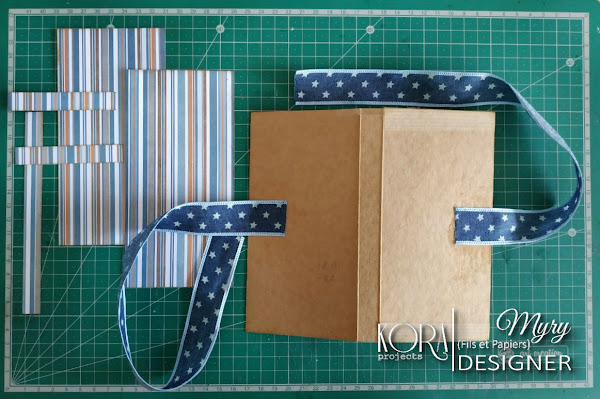
Cut two ribbons of 30cm and 40cm (11 13/16" and 15 3/4") and glue or sew them where we made
the mark; the largest one on the left and the other on the right.
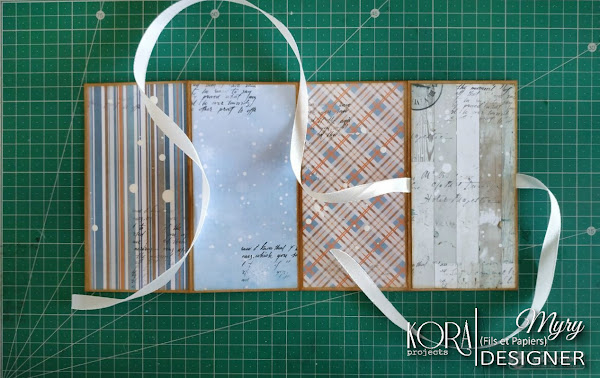
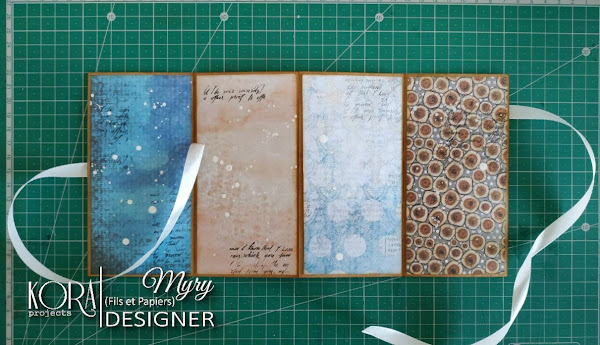
Cut 8 pieces from the "Cozy Winter" paper collection that measure 7x14cm (2 3/4"x5 1/2").
Whatever the collection you use, order the papers so that the colors and the motives look harmonious.
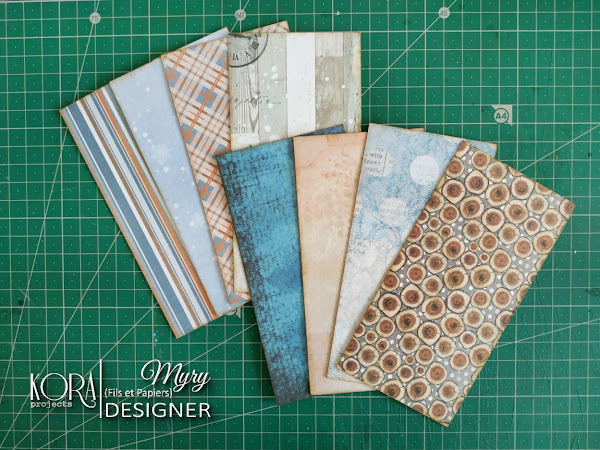
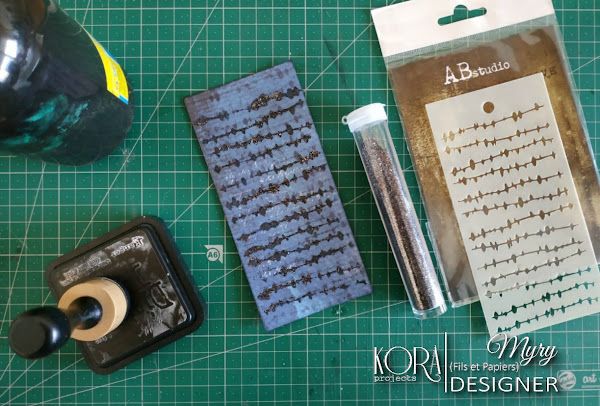
Optionally and before glue you can stamp, paint or splash with white paint... the scrap paper.
Now lets make the cube.
Ive seen some tutorials about how to make the cube go "shoot out" and that of Elena Morgun
is my favourite. So as the link for her template doesnt work, I share with you the template that I made.
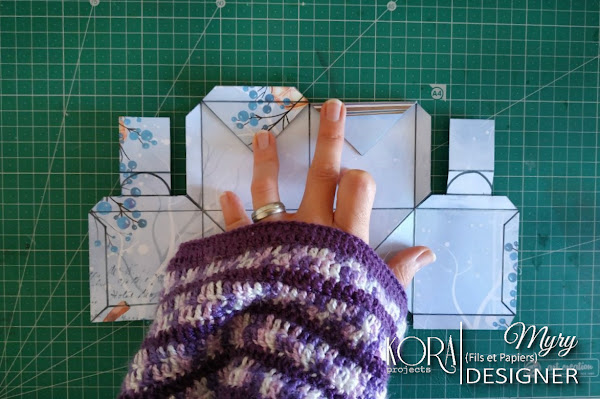
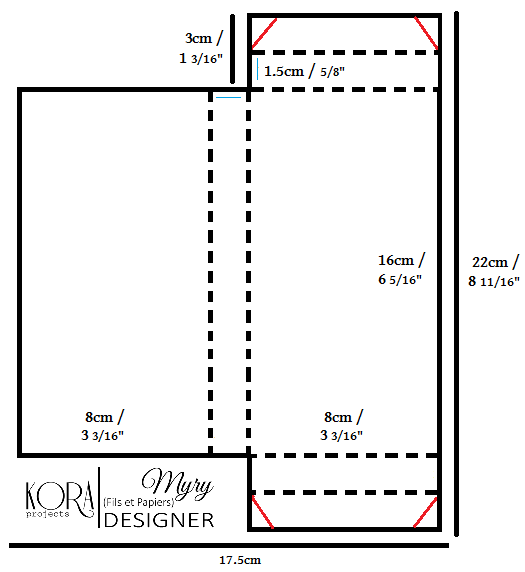
First, draw the next figure on a scrap paper with the "motive" you want it to look upside down.
The measurements of this cube are made for the size of the mini. If you want to do it in another size
you only need the length and width of the mini once folded.

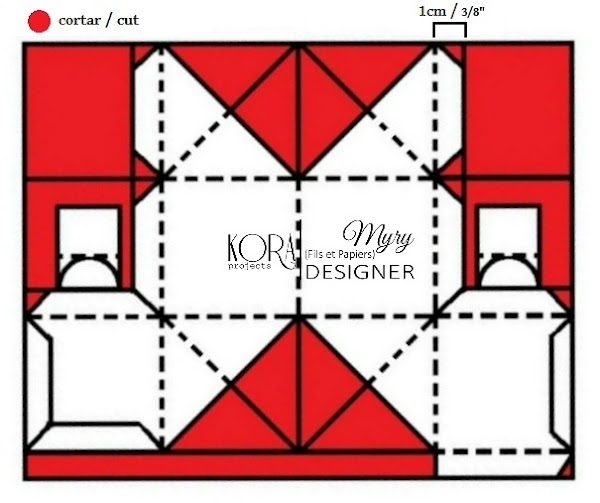
Score everything that goes between points in the following way:
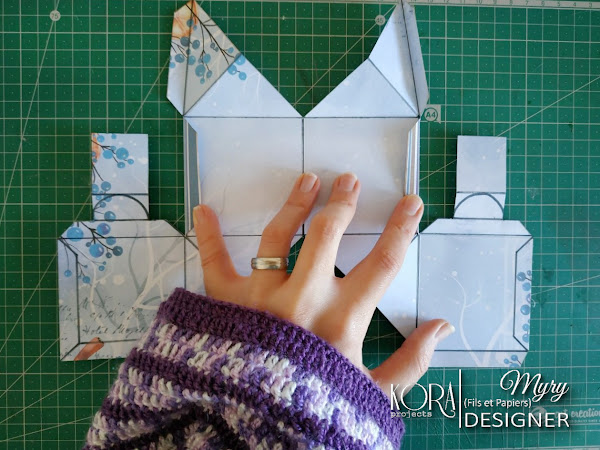
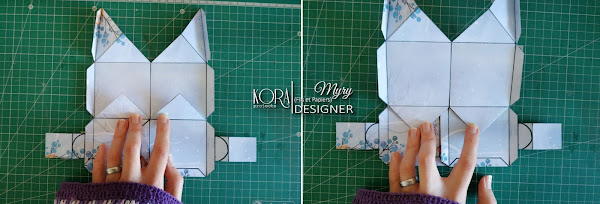
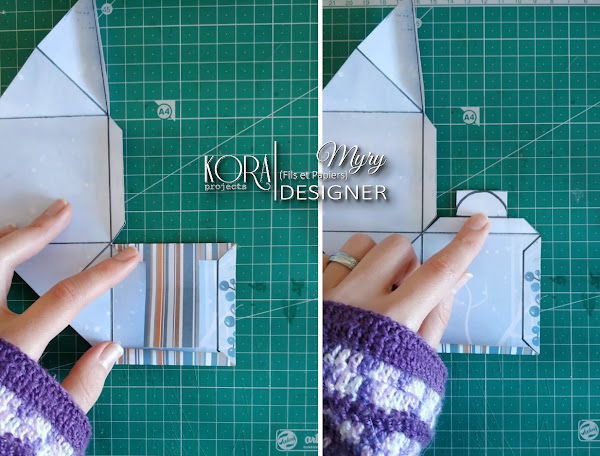
To glue the tabs I recommend a quick-dry glue to be able to assemble it at once.
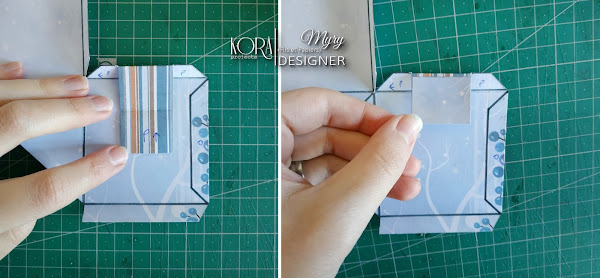
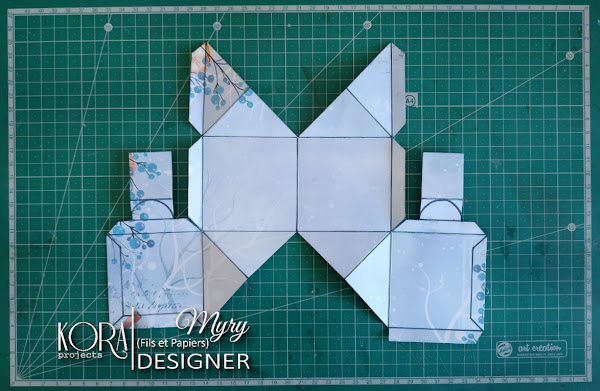
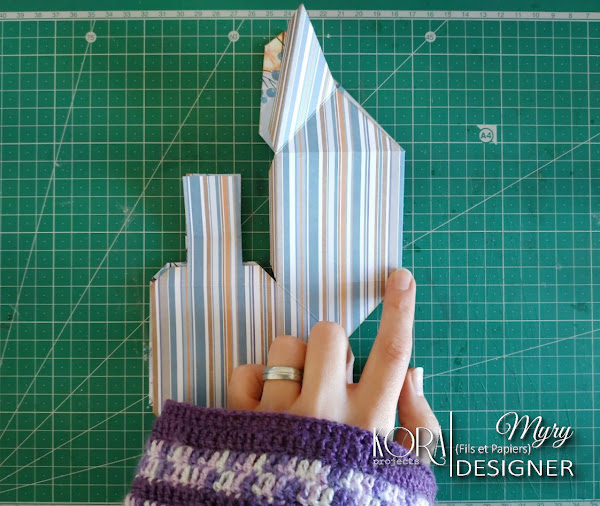
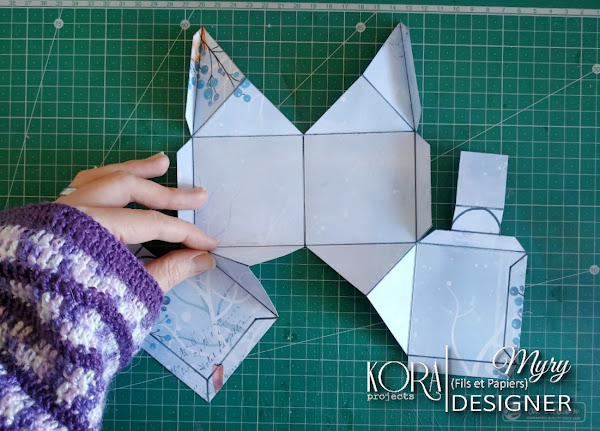
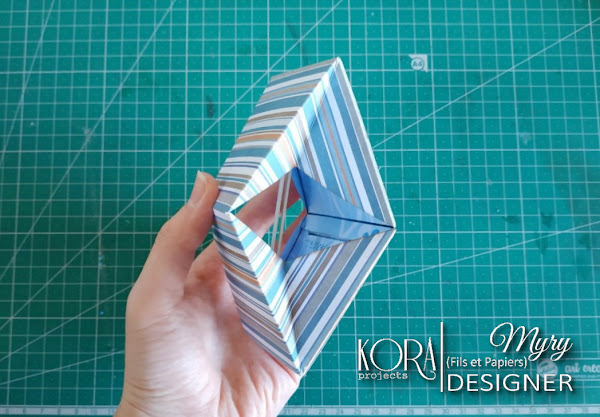
Once dry, cut the semicircle and make a cut to its center in the direction of the outside of the figure and finished in a small poin. Do the same thing on the other side.
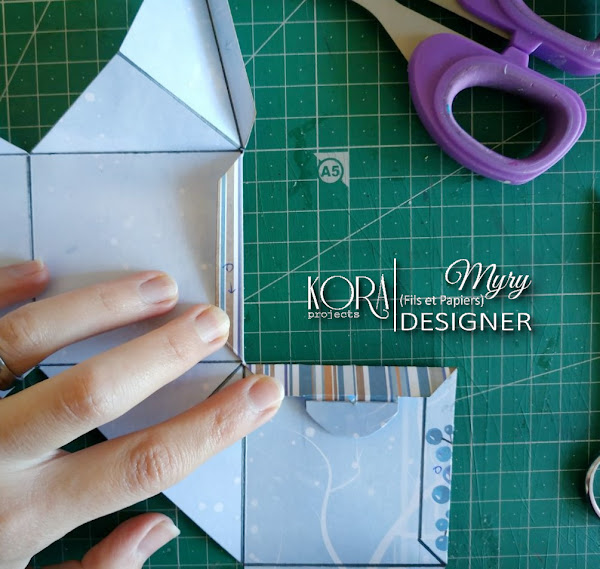
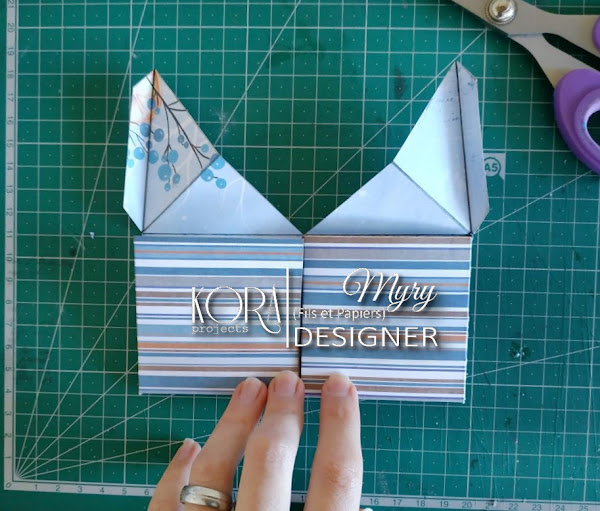
And we should have something like this:
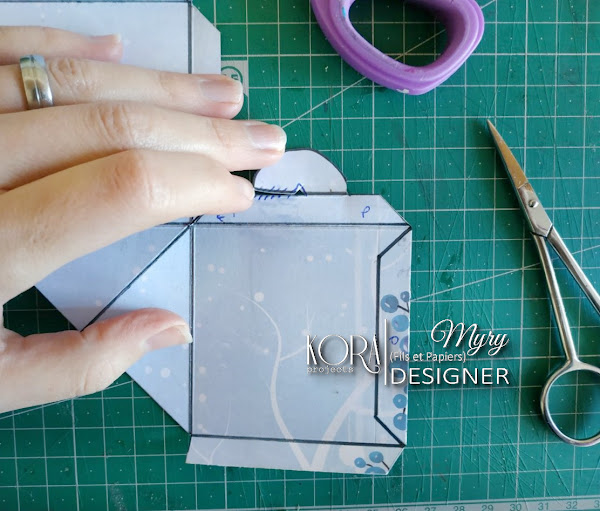
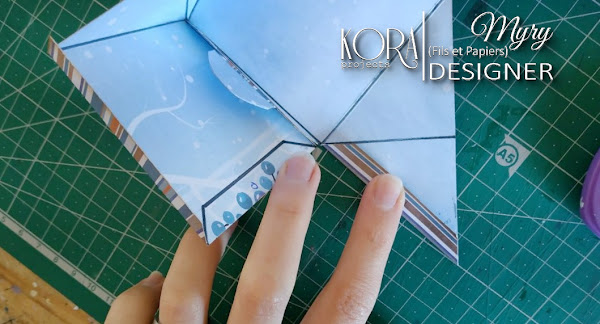
Now lets do the "spring" system with the rubber band.
If the length of the rubber is the same or more than the figure then will not do the "spring" effect.
You can make a knot, but try to make it slightly shorter.
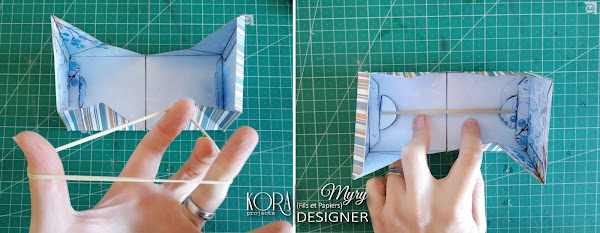
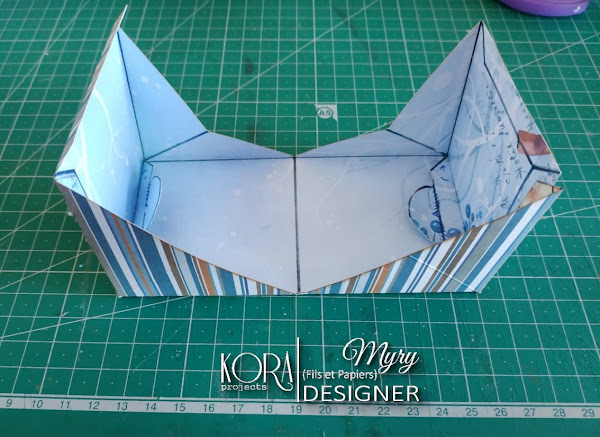
Check that the rubber has its effect before glue the last tabs.
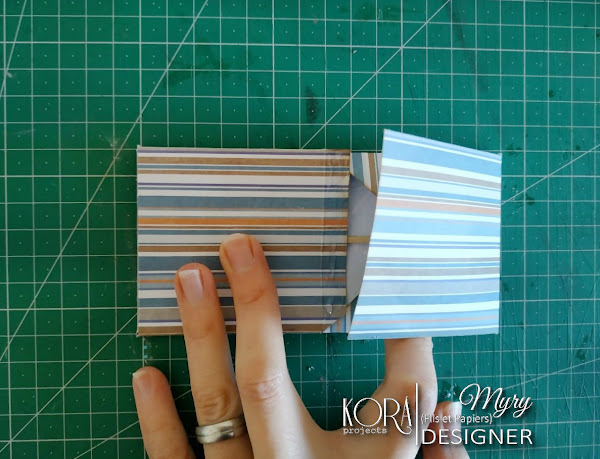
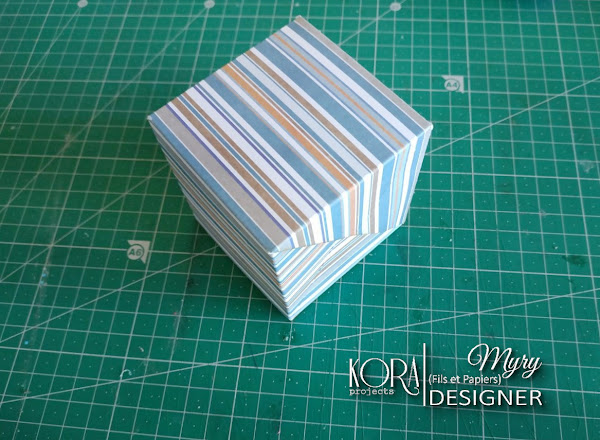
This is how our cube will looks:
To finish, use a 300gr cardboard for make a box to keep the mini:
You can reinforce the weakest points with sticker kraft tape.
Cut two ribbons of 30cm (11 13/16), glue or sew them in the center (8cm or 3 3/16").
Now cut some scrap paper pieces to cover the outside of the box.
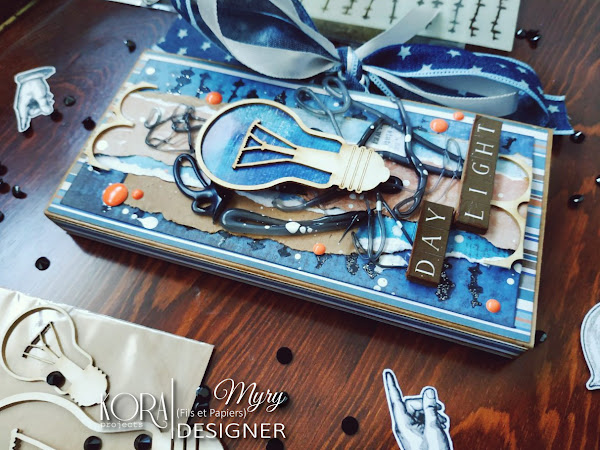
You can use scrap papers, stencil, paint and glitter... to decorate the cover.
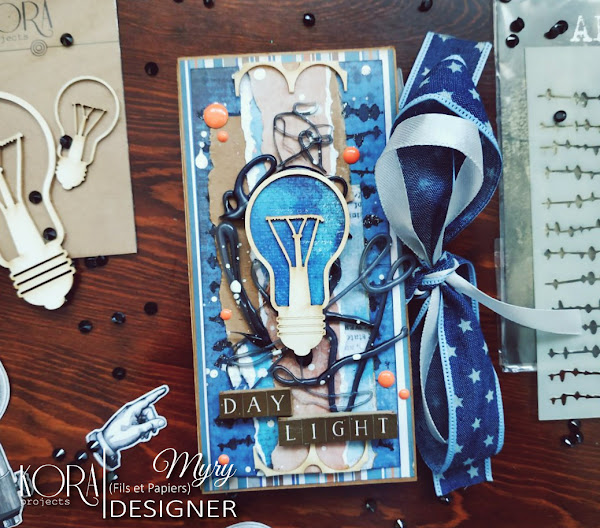
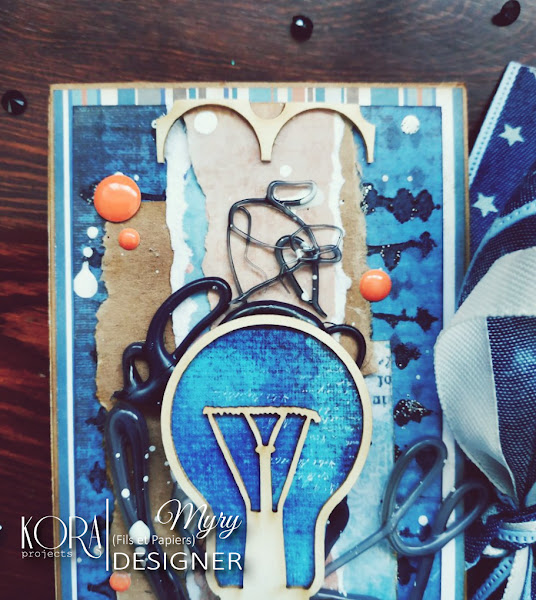
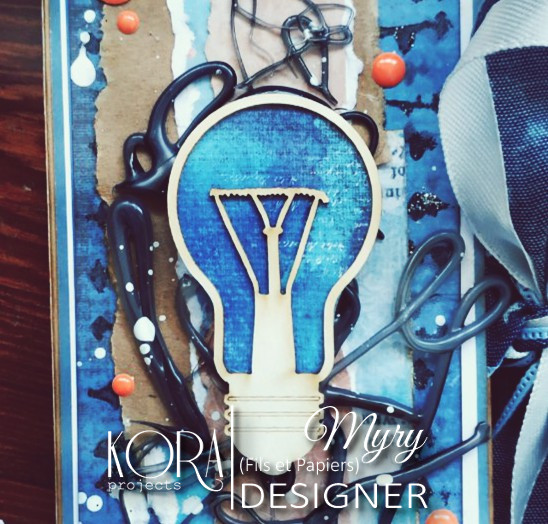
Make some shapes to decorate the center with the black and white silicone.
Cover the "empty part" of the bulb and use the rest of the decorative elements.
Finally, put the cube between the pages of the mini.
Then put it in the box and tie the ribbons by interlacing them together.

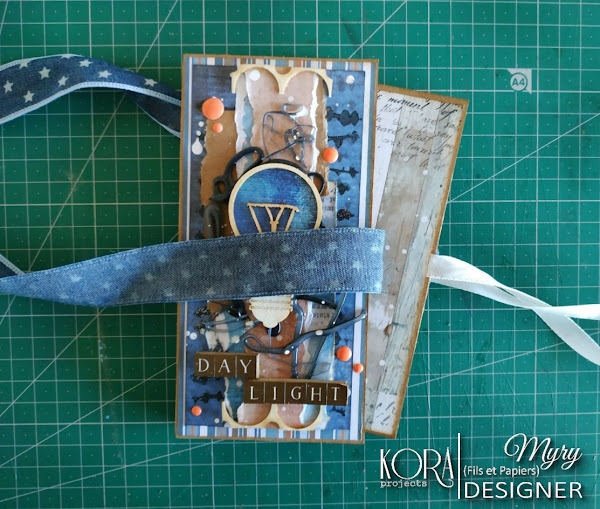
And we already have our surprise mini album finished!

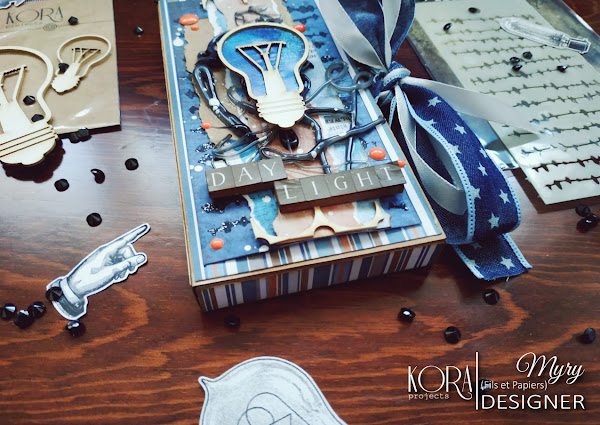


And thats all!
I hope you liked this idea as much as I did and nerve oneself to make your surprise mini album.
With this mini album I participate in this challenge:

See you in the next post.
Fuente: este post proviene de Fils et Papiers, donde puedes consultar el contenido original.
¿Vulnera este post tus derechos? Pincha aquí.
Creado: