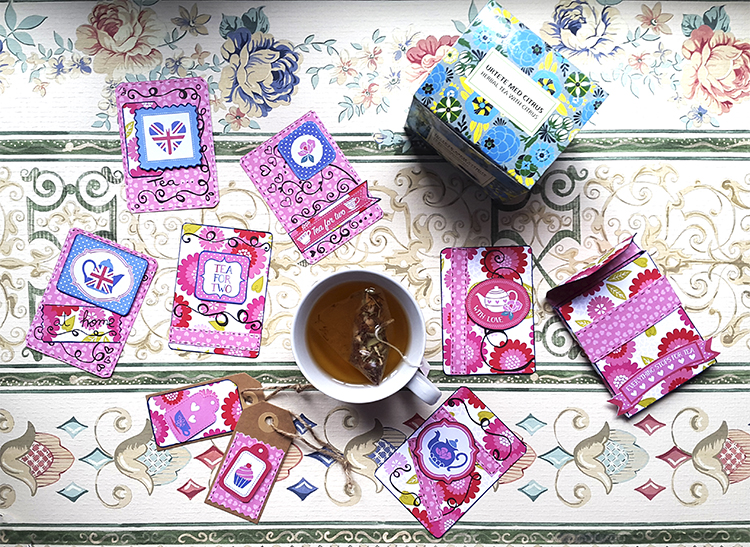
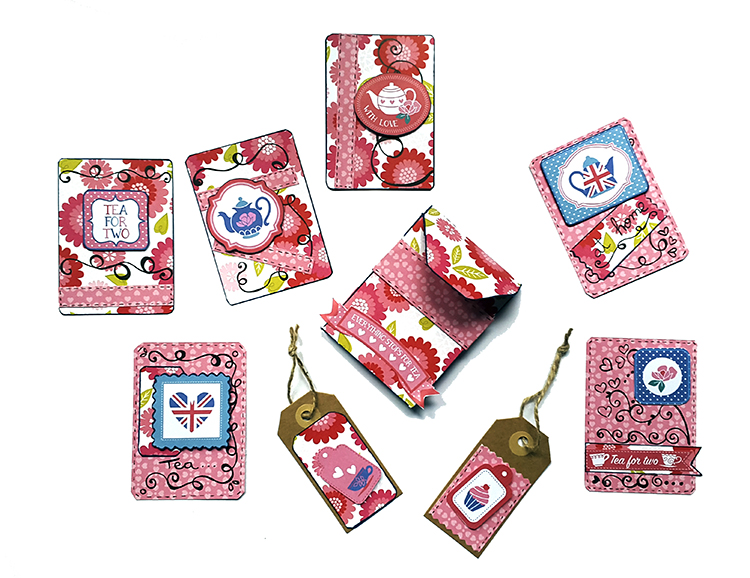
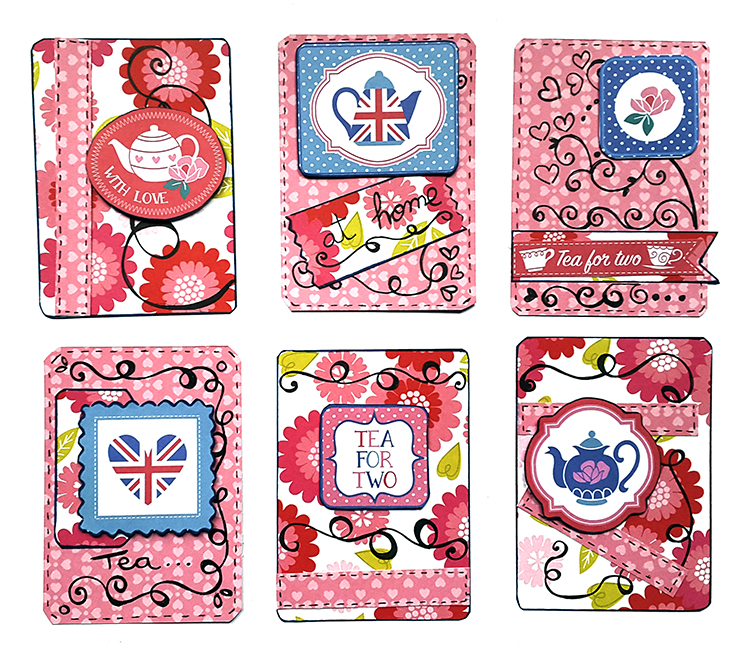
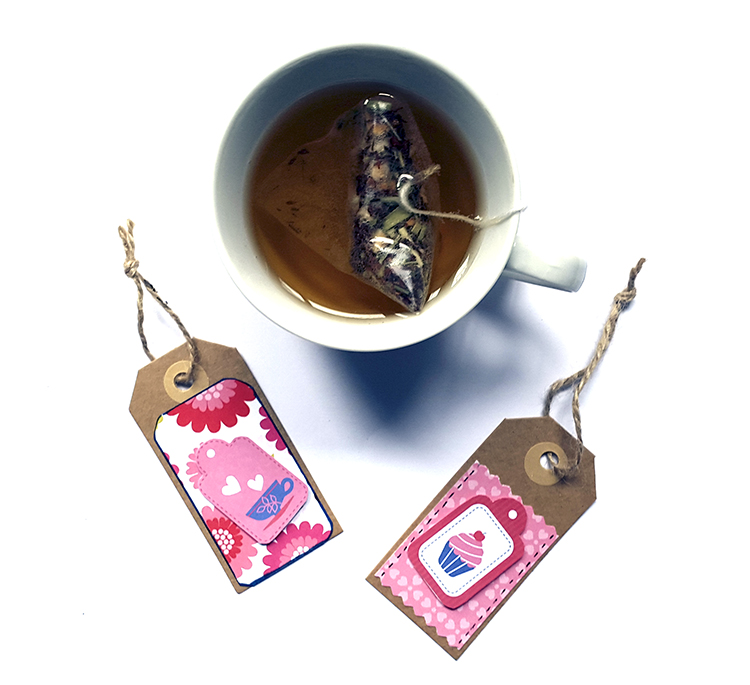
En aquest nou tutorial d’scrapbook, Les Antònies hem volgut fer uns Atc’s molt lleugers i primaverals, aptes per utilitzar, també, com si fos un mini àlbum, fent servir la part del darrere dels Atc’s per enganxar fotografies. Per aconseguir això, hem fet una caixeta per contenir-los i hem afegit un parell d’etiquetes a joc.
El títol que l’hem posat està inspirat en les etiquetes i ornamentacions que vàrem trobar al nº 146 de la revista anglesa Papercraft inspirations. La base de la caixa i dels Atc’s és un paper d’scrap decorat Pebbles de la col·lecció be mine comprat a Scraphouse; per les etiquetes hem utilitzat com a base unes que vàrem comprar al Tiger.
No us explicarem com fer els Atc’s perquè depèn del gust de cada persona; si que us donarem les mesures. Ja sabeu que normalment es fan servir les polzades (2½X3½) que traduïdes a cm són, aproximadament, 6’40X8’90cm. És a partir d’aquestes mesures que treballarem la caixa, però sempre podeu adaptar-les a les vostres necessitats.
Comencem el tutorial de la caixa. Us deixem un esquema del patró amb les mesures reals, encara que no està fet a escala. Nosaltres hem fet servir la meitat del full decorat per la caixa i l’altra meitat pels Atc’s. En una cartolina, paper decorat o qualsevol altre suport que feu servir, de 24’60cmX10’20cm, dibuixarem el patró tal com veieu al dibuix. Les línies puntejades són els plecs. A part, també dibuixarem una part de dalt per reforçar la tapa i la pestanya per tancar-la. Retalleu pel contorn (1) i comencem a plegar i muntar.
Abans de res, amb els plecs marcats, enganxarem la part de reforç per la tapa (2); continuarem marcant els plecs de la base (3, 4 i 5); pleguem els laterals i les pestanyes (6) i les enganxem a la part del davant (7). Ara preparem la pestanya per tancar la caixa (8) i l’enganxem al davant procurant que la tapa entri bé i sobresurti una mica (9). Ja tenim la caixa feta (10), llesta per decorar.
Ja veieu que les coses petites queden molt bé i, a més, són molt còmodes d’emmagatzemar. Esperem que la idea us agradi i us inspiri.
INSPIRACIÓ ANGLESA I PRIMAVERAL!!!
DO YOU FANCY A CUP OF TEA? ATC’S, ETIQUETAS Y CAJA: TUTORIAL DE SCRAPBOOK.
En este nuevo tutorialde scrapbook, Les Antònies hemos querido hacer unos Atc’s muy ligeros y primaverales, aptos para utilizar, también, como si fuera un mini álbum, usando la parte trasera de los Atc’s para pegar fotografías. Para conseguirlo, hemos hecho una cajita para contenerlos y hemos añadido un par de etiquetas a juego.
El título que le hemos puesto está inspirado en las etiquetas y ornamentaciones que encontramos al nº 146 de la revista inglesa Papercraft inspirations. La base de la cajay de los Atc’s es un papel de scrap decorado Pebbles de la colección be mine comprado en Scraphouse; para las etiquetas hemos utilizado como base unas que compramos en Tiger.
No os explicaremos como hacer los Atc’s porque depende del gusto de cada persona; si que os daremos las medidas. Ya sabéis que normalmente se usan las pulgadas (2½X3½) que traducidas a cm son, aproximadamente, 6’40X8’90cm. Es a partir de estas medidas que trabajaremos la caja, pero siempre podéis adaptarlas a vuestras necesidades.
Empezamos el tutorial de la caja. Os dejamos un esquema del patrón con las medidas reales, aunque no está hecho a escala. Nosotras hemos usado la mitad de la hoja decorada para la caja y la otra mitad para los Atc’s. En una cartulina, papel decorado o cualquiera otro soporte que uséis, de 24’60cmX10’20cm, dibujaremos el patrón tal como veis en el dibujo. Las líneas punteadas son los pliegues. Aparte, también dibujaremos una parte de arriba para reforzar la tapa y la pestaña para cerrarla. Recortáis por el contorno (1) y empezamos a plegar y montar.
Antes que nada, con los pliegues marcados, pegaremos la parte de refuerzo para la tapa (2); continuaremos marcando los pliegues de la base (3, 4 y 5); plegamos los laterales y las pestañas (6) y las pegamos en la parte delantera (7). Ahora preparamos la pestaña para cerrar la caja (8) y la pegamos delante procurando que la tapa entre bien y sobresalga un poco (9). Ya tenemos la caja hecha (10), lista para decorar
Ya veis que las cosas pequeñas quedan muy bien y, además, son muy cómodas de almacenar. Esperamos que la idea os guste y os inspire.
¡¡¡INSPIRACIÓN INGLESA Y PRIMAVERAL!!!
"DO YOU FANCY A CUP OF TEA?" ATCS, LABELS AND BOX: SCRAPBOOK TUTORIAL.
In this new scrapbook tutorial, Les Antònies wanted to make a few Atcsvery light and spring, fit for use, too, as if it were a mini album, using the back of the Atcs to paste photographs. To achieve this, we made a small boxto contain them and we have added a couple of tags to match.
The title that we give it is inspired by the labels and ornamentation that we find in the nº 146 of the English magazine Papercraft inspirations. The base of the box and the Atc’s is a scrap decorated paper Pebbles from the collection "be mine" bought at Scraphouse. The tags we used as a base that we buy at the Tiger.
We will not explain how to make Atcsbecause it depends on the taste of each person; but we give you the measures. You already know that usually use the inches (2½X3½) that translated into cm are approximately 6’40X8’90cm. In the basis of these measures we will work out the box, but you can always adapt them to your needs.
We start the tutorial from the box. We show you a diagram of the pattern with the actual measures, although it is not done to scale. We used half of the sheet set for the boxand the other half by the Atcs. In a cardboard, decorated paper or any other support that you make use, of 2460cmX1020cm, draw the pattern as you see in the picture. The dotted lines are the folds. Apart, also draw a top to reinforce the lid and the tab to close it. Cut by the contour (1) and we start to fold and assemble.
First of all, with the folds marked, we glued the part of reinforcement to the lid (2); we will continue making the creases of the base (3, 4 and 5); we fold the sides and the tabs (6) and attach it to the front part (7). Now prepare the tab to close the box (8) and attach to the front of the lid making sure that go into good and protrudes a bit (9). We already have the box made (10), ready to decorate.
As you can see that the small things are very well and, in addition, are very comfortable to store. We hope that the idea like and inspire you.
ENGLISH-INSPIRED SPRING!!!


