Els que l’heu fet servir sabeu que el sistema és molt fàcil i permet personalitzar qualsevol labor amb els botons de la mateixa tela.
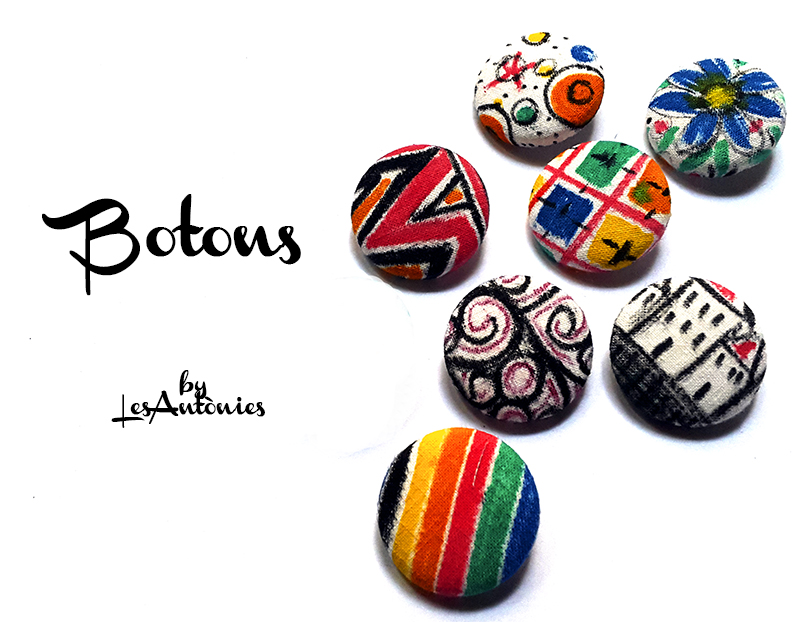
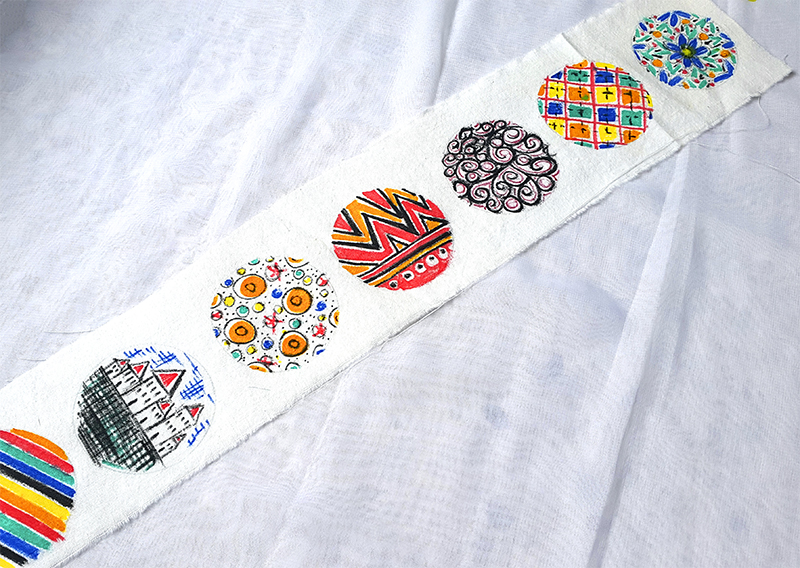
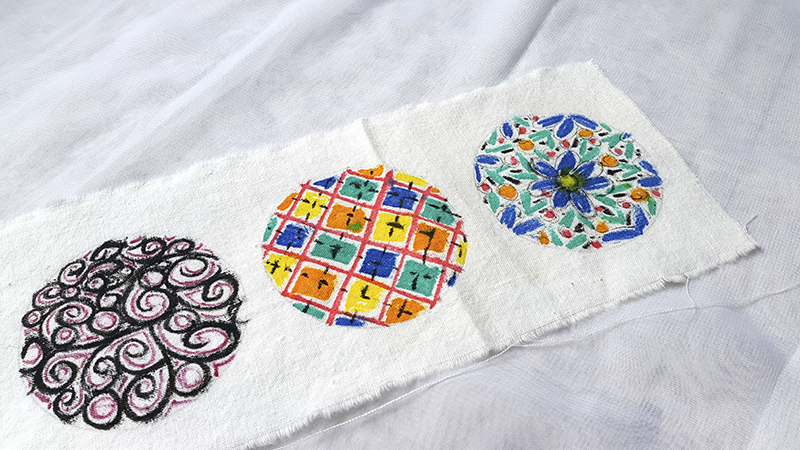
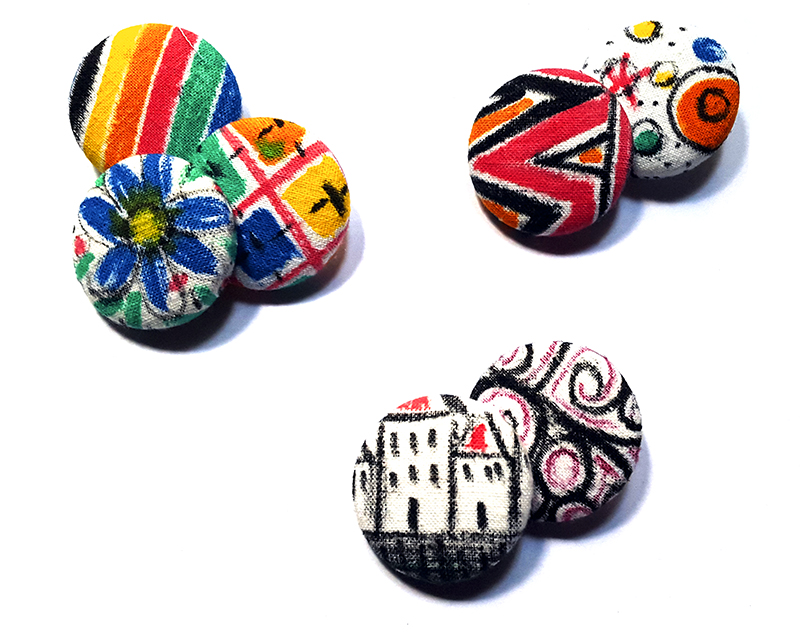
Nosaltres l’hem donat un tomb: hem dibuixat els nostres propis dissenys sobre tela amb retoladors tèxtils. Amb el cercle de cartró amb la mesura de la tela, hem dibuixat el contorn i dintre del cercle que pintat els nostres estampats. Una vegada seca la pintura dels retoladors, hem planxat i hem retallat. Hem seguit les instruccions de muntatge i el resultat és el que podeu veure.
Esperem que aquesta idea us agradi. Segur que ja ho heu fet servir més d’una vegada i n’esteu força contents.
BOTONS PER DONAR EL TOC PERSONAL!!!
DISEÑANDO NUESTROS BOTONES.
Un día de la semana pasada, cotilleando por una tienda Tiger, Les Antònies caímos en la tentación y compramos el kit de hacer botones que much@s de vosotr@s ya conocéis. Ya lo habíamos visto antes, pero no nos había inspirado lo suficiente.
L@s que lo habéis usado sabéis que el sistema es muy fácil y permite personalizar cualquier labor con los botones de la misma tela.
Nosotras le hemos dado un giro: hemos dibujado nuestros propios diseños sobre tela con rotuladores textiles. Con el círculo de cartón con la medida de la tela, hemos dibujado el contorno y dentro del círculo hemos pintado nuestros estampados. Una vez seca la pintura de los rotuladores, hemos planchado y hemos recortado. Hemos seguido las instrucciones de montaje y el resultado es el que podéis ver.
Esperamos que esta idea os guste. Seguro que ya lo habéis usado más de una vez y estáis muy content@s.
¡¡¡BOTONES PARA DAR EL TOQUE PERSONAL!!!
DESIGNING OUR OWN BUTTONS.
One day of the past week, gossiping by a Tiger Shop, Les Antònies fell into temptation and bought the kit to make buttons that many of you already know. Already we had seen it before, but had not inspired us enough.
Those whove used know that the system is very easy and allows you to customize any work using the buttons of the same fabric.
We have given a turn: we have drawn our own designson fabric with textile markers. With the circle of cardboard with measurement of the fabric, we have drawn the outline and inside the circle we painted our prints. Once dry, the paint of the marker, we have ironing and weve trimmed. We followed the assembly instructions and the result is what you can see.
We hope that this idea like you. Sure you’ve used more than one time and youre very happy.
BUTTONS TO GIVE YOUR PERSONAL TOUCH!!!


